

Tangem Wallet Setup: Step-by-Step Activation & Security
You've got your Tangem cards in hand, and now you need to get them up and running. The Tangem wallet setup process is one of the simplest in the hardware wallet space, no USB cables, no desktop software, no seed phrase to write down on paper. But "simple" doesn't mean you should rush through it. A few wrong taps during activation can weaken your security from the start.
This guide walks you through every step: downloading the Tangem app, scanning your cards, creating your backup, and configuring the security settings that actually matter. We built it based on hands-on testing here at FinTech Dynasty, where we evaluate hardware wallets specifically for people moving into self-custody for the first time.
Whether you picked up a two-card or three-card set, you'll have your wallet fully configured and secured by the end of this article. Let's get into it.
What you need before you start
Before you touch the app, take five minutes to confirm you have everything in order. Rushing into the Tangem wallet setup without the right gear or a clear plan is one of the most common reasons people end up redoing steps or, worse, setting up a wallet that isn't fully backed up. Getting organized now saves you real headaches later.
Your Tangem card set
Tangem sells wallets in sets of two or three cards. Each card acts as both a key and a backup, so losing all of your cards means losing access to your funds permanently. Before you start, count your cards and confirm they are undamaged. Check the NFC chip area (the metallic oval on the front of each card) for scratches or deep scuffs, since a physically damaged chip can fail to scan during activation.
If your package arrived with a broken seal or visibly tampered packaging, do not activate the cards. Contact Tangem support directly before proceeding.
You will also want a flat, quiet surface to work on during the setup process. Each card must be scanned individually, and doing this in a hurry or with a shaky hand can cause scan errors that interrupt the flow. Scan failures mid-setup can force you to restart the entire process from scratch.
Compatible phone and OS version
Tangem uses NFC (Near Field Communication) to communicate between the cards and your phone. Your phone must support NFC, and not every device does. Check your phone's spec sheet if you are unsure. Most Android phones released after 2018 and all iPhones from the iPhone 7 onward include NFC hardware.
Your operating system also matters. The Tangem app requires iOS 14 or Android 8.0 at a minimum, and you should be running the latest available version before installing. Outdated operating systems can cause app crashes or pairing failures that have nothing to do with the cards themselves.
Here is a quick compatibility checklist before you download anything:
- NFC-enabled phone (confirmed in your phone's settings or spec sheet)
- iOS 14+ or Android 8.0+ installed and fully updated
- At least 150 MB of free storage for the app and wallet data
- A stable internet connection for the initial app setup and asset loading
A few things to decide before activation
The Tangem app will ask you to set an access code during setup, which functions like a PIN for your wallet. Decide on a strong, unique code before you open the app, and avoid anything obvious like a birth year or repeating digits. Write it down somewhere physical and secure, because there is no recovery option if you forget it.
You also need to decide whether you want a two-card or three-card backup before activating. Tangem locks in the backup structure at the moment of wallet creation, and you cannot add a third card after the fact if you started with a two-card set. Make this decision now, with your full card set in front of you, before moving on to the next step.
Step 1. Install the app and verify your phone
The Tangem app is your primary interface for the entire tangem wallet setup process, so installing it correctly and from the right source matters more than most people realize. Fake wallet apps exist on both the App Store and Google Play, and downloading the wrong one can expose your funds to theft before you even scan your first card.
Download from the official app store
Search for "Tangem" directly in the Apple App Store or Google Play Store and confirm the developer name reads "Tangem AG" before you tap install. The app is free, and you should not pay anything to download it. Check the review count and install history as a secondary verification step; a legitimate app that has been available for years will have a substantial install base.
Once the app is installed, open it once before activating any cards to confirm it loads without errors. If the app crashes on launch or requests unusual permissions like access to your contacts or microphone, delete it immediately and re-download.
Always install the Tangem app fresh from the official store, never from a link in an email, a social media post, or a third-party site.
Confirm NFC is active on your device
NFC must be enabled in your phone's settings before you scan any card. On Android, go to Settings > Connected Devices > Connection Preferences > NFC and toggle it on. On iPhone, NFC runs in the background automatically and does not require manual activation, but make sure your phone case is not blocking the NFC chip area, which sits near the top of the device on most iPhones.
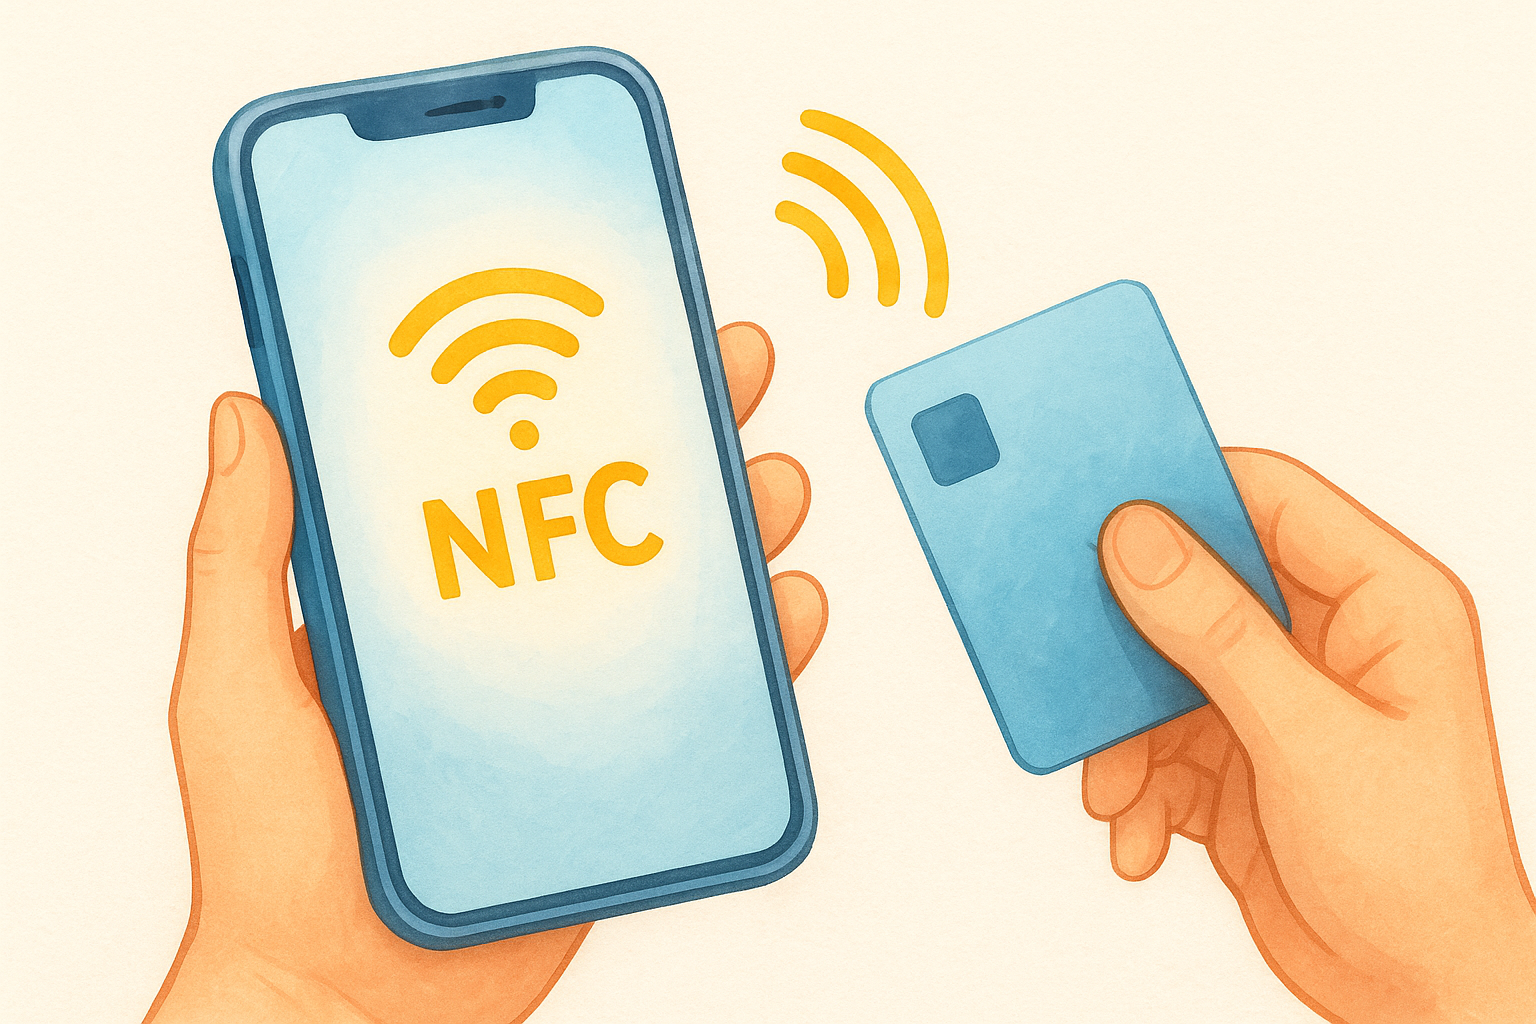
After NFC is confirmed active, hold one of your Tangem cards near the top-back of your iPhone or the center-back of your Android device. A successful detection triggers a brief vibration or notification sound, confirming your hardware is ready. Move on to Step 2 only after this check passes.
Step 2. Activate your Tangem wallet and scan cards
With the app installed and NFC confirmed, you are ready to start the tangem wallet setup process in earnest. Open the Tangem app and tap "Scan card" on the home screen. The app will prompt you to hold a card near your phone's NFC detection point. Use the primary card from your set, which is typically the first card you pull out of the packaging, though Tangem does not label them with numbers.
Scan your primary card
Hold your primary card flat against the back of your phone and keep it still. The scan usually completes within two seconds, and the app will display your card's unique identifier along with its firmware version. If the scan fails, reposition the card slightly and try again. Common scan failure causes include a thick phone case, a low phone battery, or moving the card too quickly across the surface of the device.
Once the primary card is recognized, the app walks you through creating your wallet. Follow each screen in order without skipping steps. Here is what to expect:
- Tap "Create wallet" when prompted
- Choose your currency networks (you can add more later)
- Set your access code when the app requests it
- Confirm the access code a second time on the same screen
Write your access code down on paper immediately after setting it. There is no digital recovery option inside the Tangem app if you forget it.
Link your backup cards
After your primary card is configured, the app prompts you to add backup cards right away. Do not skip this screen. Tap "Add backup card" and scan each remaining card from your set one at a time, following the same flat-and-still technique you used for the primary card. Each backup card scan transfers the wallet credentials to that card, creating an independent copy of your keys. Once all cards are linked, the app confirms your backup count and moves you to the security configuration screen.
Step 3. Lock down access and choose your backup method
Security configuration is where the tangem wallet setup becomes personal. The decisions you make on these screens determine how difficult it is for someone else to access your funds and how quickly you can recover if a card is lost or damaged. Take your time here and do not treat these steps as formalities.
Set your access code correctly
Your access code acts as a PIN that the app requires every time you scan a card. Tangem does not store your access code anywhere, which means there is no reset button and no support ticket that can recover it. Set a code that is at least six digits long and completely unique to this wallet, meaning you have not used it for any other account or device.
If you forget your access code and cannot scan your cards, you will lose access to your funds permanently. Store the code in a secure physical location, such as a small notebook kept in a safe.
Avoid codes based on predictable patterns like birthdays, phone numbers, or repeating digits. A good approach is to pick a random string of numbers you can memorize through repetition, then write it down as a backup in a location only you can access. Confirm the code twice inside the app before moving forward.
Understand your backup options
Tangem gives you two backup structures: a two-card setup or a three-card setup. Both were locked in when you scanned your cards in Step 2, but understanding what each provides helps you store your cards wisely going forward. With two cards, you have one primary and one backup. Losing both cards simultaneously means permanent loss of access. With three cards, you retain access as long as you hold at least one card.
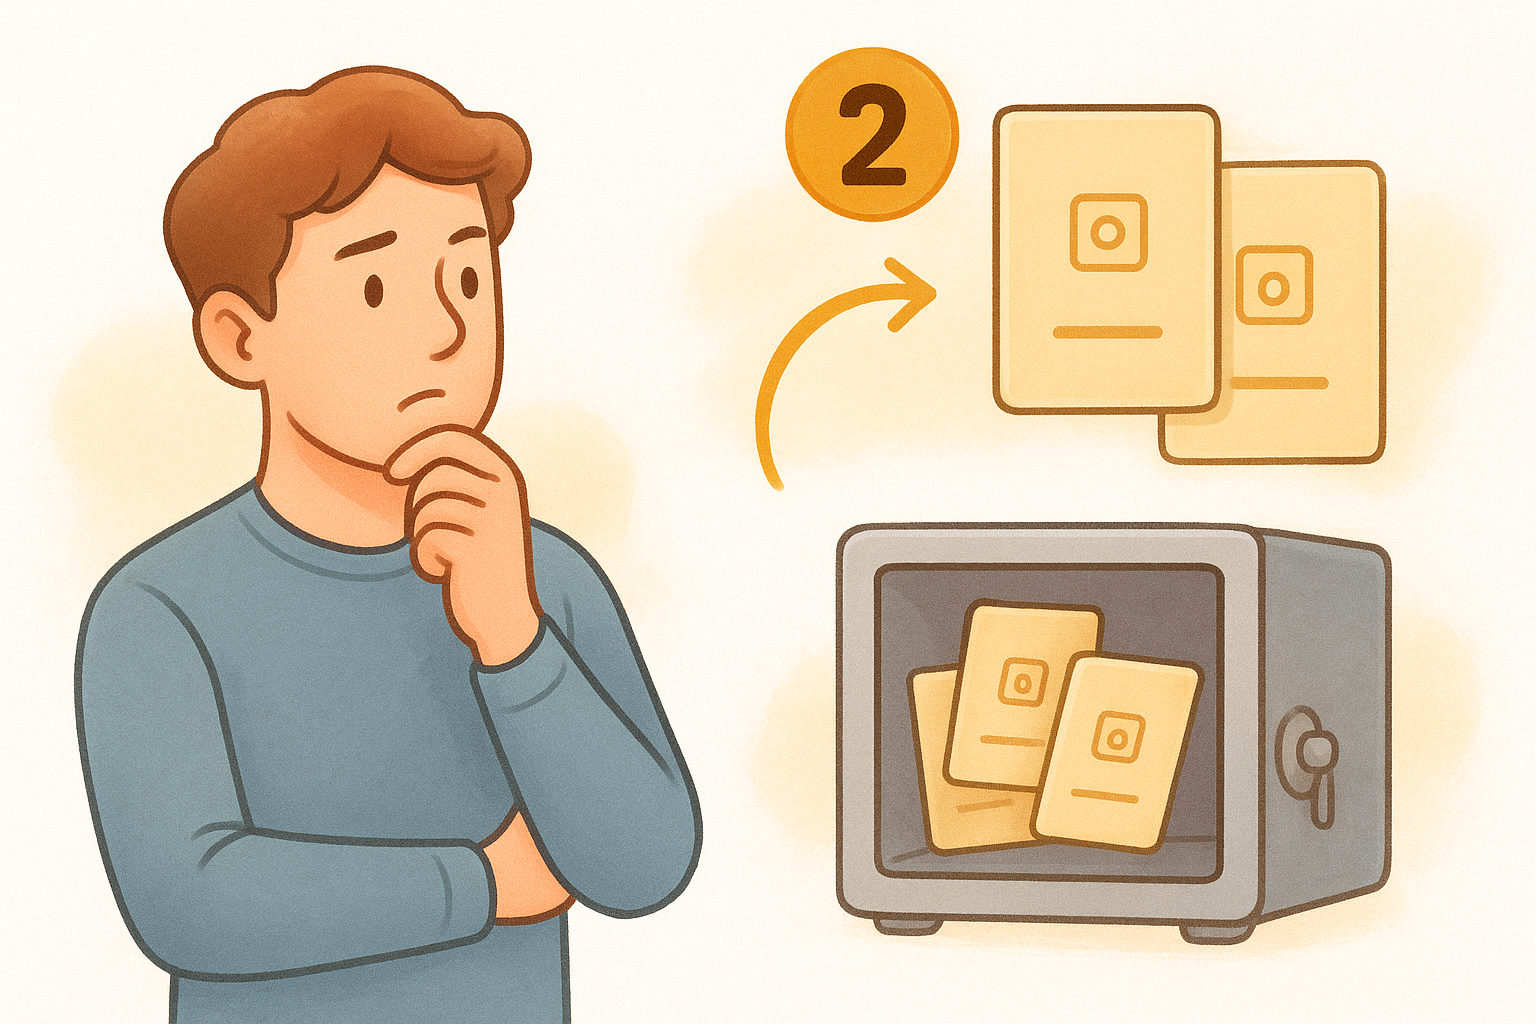
Store your backup cards in separate physical locations from your primary card. A home safe and a bank safety deposit box is one practical combination. Never keep all cards together in the same bag, drawer, or location.
Step 4. Add assets, get addresses, and send a test transfer
Your cards are configured and your backup is in place, which means the tangem wallet setup is structurally complete. Now you need to load your wallet with the coins or tokens you plan to store and verify that everything works by moving a small amount before committing larger funds. This step is where most new users skip ahead and regret it later, so follow it in full.
Add networks and tokens to your wallet
Open the Tangem app and tap the "+" button on your main wallet screen to add a network. The app supports hundreds of blockchains and tokens, including Bitcoin, Ethereum, and most major EVM-compatible networks. Select each network you plan to use and confirm the addition by scanning your primary card when prompted.
For tokens that run on top of a network, such as USDC on Ethereum, first add the parent network (Ethereum), then use the token search field to find and add the specific token contract. Here is a quick example of the sequence for adding USDC:
- Tap "+" and select Ethereum
- Scan your card to confirm
- Tap "+" again and search for "USDC"
- Select the official USDC contract and confirm
Get your receive address
Each network you add generates a unique receive address inside the app. Tap the network name on your wallet screen, then tap "Receive" to display your address as both a QR code and a text string. Copy the address and send yourself a small verification message or paste it into a notes app to double-check it renders correctly before sharing it with any exchange or sender.
Never send funds to a receive address you have not personally verified inside the Tangem app on your own device.
Send a small test transfer
Before moving your full holdings, send the smallest practical amount, such as $5 worth of the asset, from an exchange to your Tangem address. Once the transaction confirms on-chain, tap "Send" inside the app, enter the destination address, and return a portion of the test amount back to your exchange wallet. Confirming both an inbound and outbound transfer proves your wallet is fully operational before you commit serious funds to it.
Next steps and safety reminders
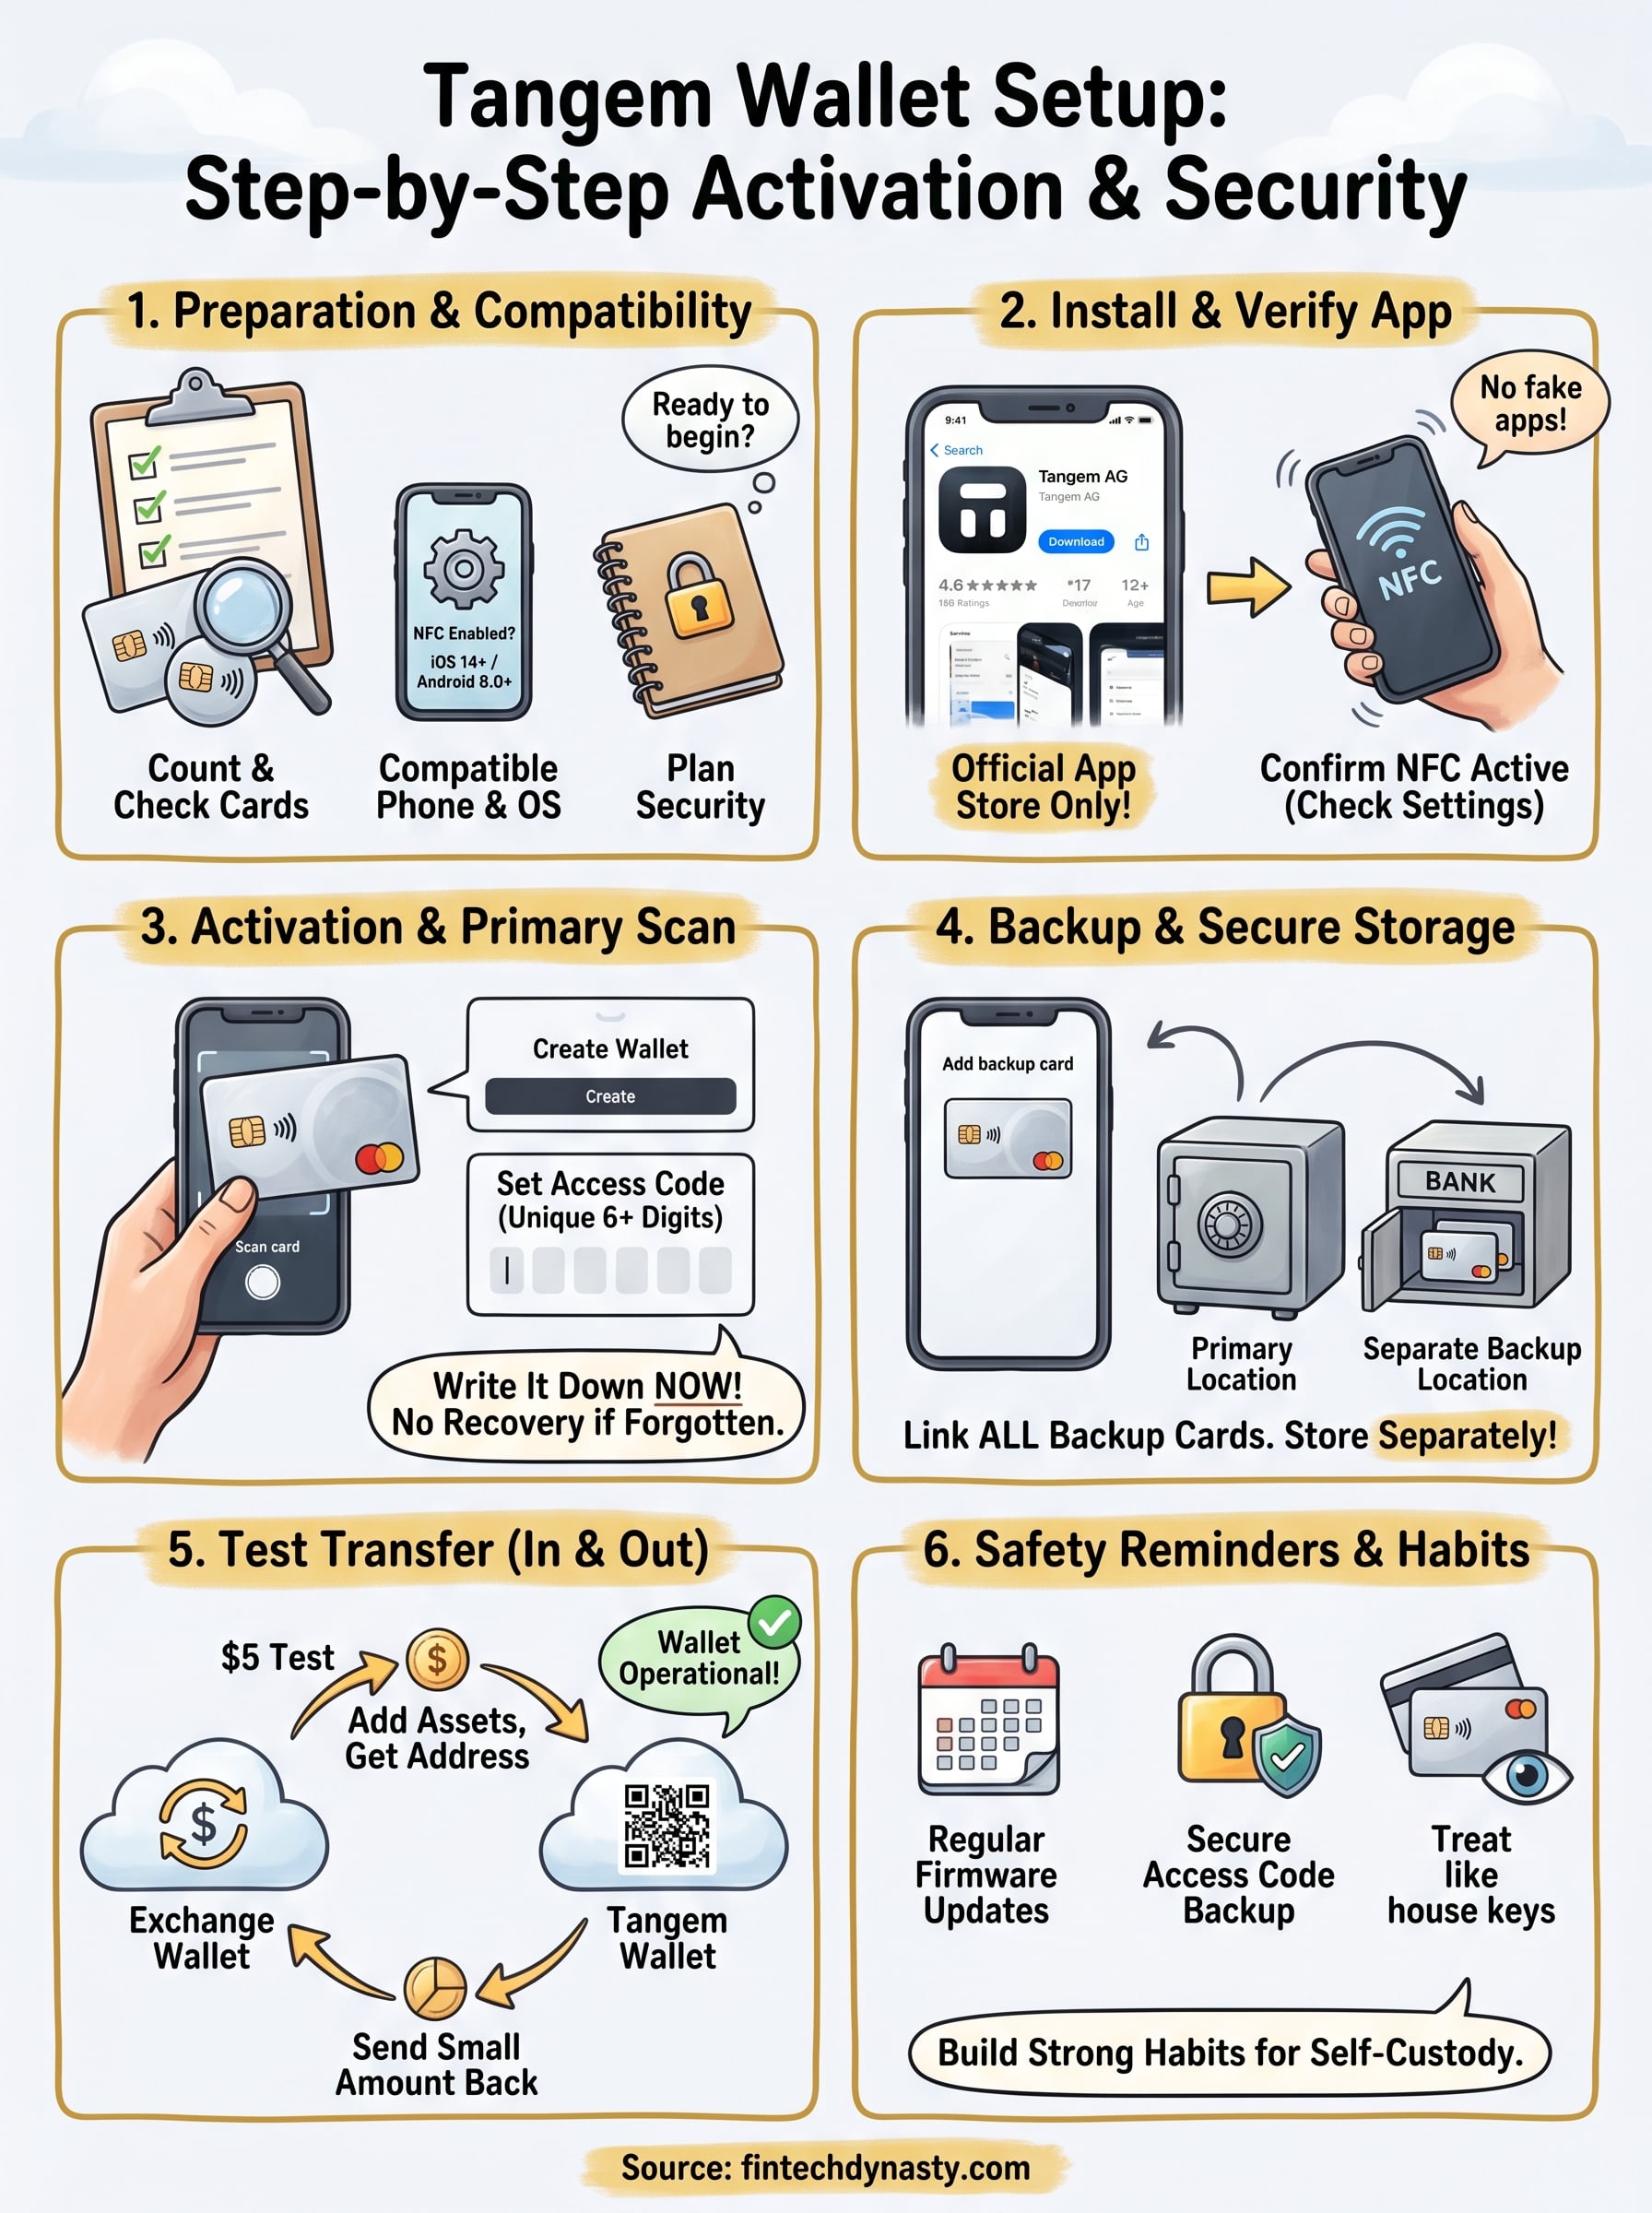
Your tangem wallet setup is complete, but your security habits are what protect those funds long-term. Store your backup cards in separate physical locations starting today, not after you "find a better spot." If you run a two-card set, treat each card with the same care you would give a house key, because that is essentially what it is.
Check the Tangem app for firmware updates every few months. Outdated firmware can leave your cards exposed to vulnerabilities that Tangem has already patched in newer releases. Also review your access code storage situation periodically to confirm your written backup is still intact and accessible only to you.
Building strong self-custody habits takes structured learning, not just one-time setup guides. If you want to go deeper on wallets, private keys, and the fundamentals of securing your crypto, the FinTech Dynasty crypto education course walks you through everything in a clear, practical format built for real beginners.