

Trezor Suite Setup: Official Apps For Every Platform Safely
Downloading software for your hardware wallet from the wrong source can compromise your entire crypto holdings in seconds. When searching for Trezor Suite download options, you'll encounter countless links, but only one leads to the legitimate application. Using unofficial sources is a common attack vector that scammers exploit to steal private keys and drain wallets.
At FinTech Dynasty, we prioritize practical security guidance for self-custody without the speculation or hype. This guide walks you through the official download process for Trezor Suite across every supported platform: Windows, macOS, Linux, Android, and iOS. You'll learn exactly where to find the authentic application and how to verify its legitimacy before installation.
Whether you're setting up a new Trezor device or reinstalling Suite on a fresh computer, following the correct procedure protects your assets from phishing attempts and malware. The steps ahead are straightforward, but getting them right matters. Let's make sure your Trezor Suite installation starts on solid ground with verified, official software.
What Trezor Suite is and which app you need
Trezor Suite is the official software interface for all Trezor hardware wallets. It replaces the older Trezor Wallet web interface and provides complete control over your crypto assets through a desktop application or mobile app. The software handles everything from initial device setup to transaction signing, portfolio tracking, and firmware updates.
Desktop application vs mobile app
The desktop version offers full functionality for managing your Trezor device, including advanced features like coin control, Tor integration, and custom fee settings. You can install it on Windows, macOS, or Linux, and it runs as a standalone application that connects to your hardware wallet via USB or Bluetooth on supported models. Desktop Suite is the primary option for most users because it provides access to every supported cryptocurrency and all advanced security features.
The mobile app runs on Android and iOS devices but with limited capabilities compared to desktop. Currently, it supports basic functions like checking balances and sending Bitcoin, but you cannot use it for initial device setup or firmware updates. Mobile Suite works best as a companion tool for monitoring your portfolio on the go rather than a replacement for the desktop version.
If you're setting up a new Trezor for the first time, you need the desktop application.
Choosing your platform version
Your trezor suite download depends on your operating system. Windows users need the .exe installer, macOS users require the .dmg file, and Linux users choose between .AppImage, .deb, or .rpm packages. Each platform version is built specifically for its operating system and will not run on others.
The installation file you download should match:
- Windows 10 or later: .exe installer (64-bit)
- macOS 10.15 or later: .dmg package (Intel or Apple Silicon)
- Linux: .AppImage (universal), .deb (Debian/Ubuntu), or .rpm (Fedora/RHEL)
- Android: APK or Google Play Store
- iOS: App Store only
Step 1. Find the official Trezor Suite download
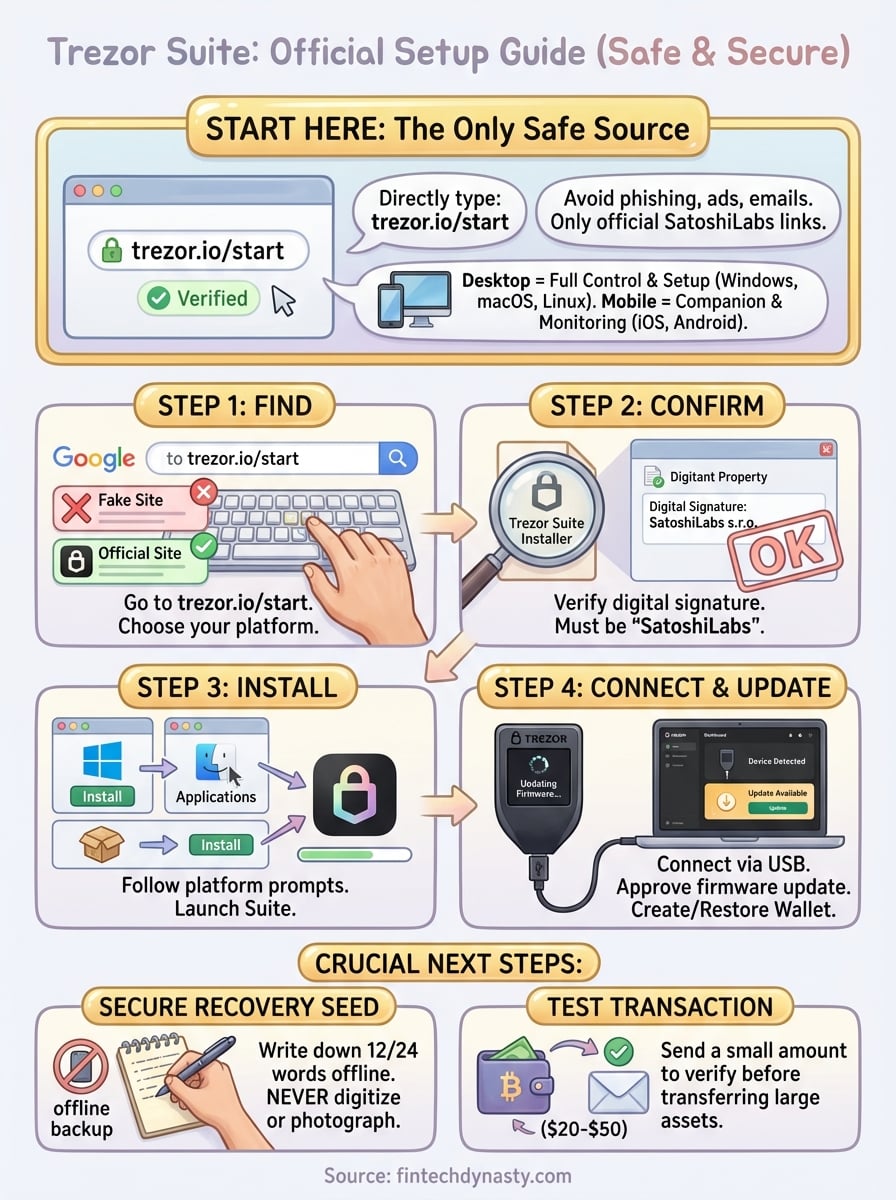
You need to navigate directly to the official Trezor website to avoid phishing sites that mimic the legitimate download page. Open your browser and type trezor.io/start manually into the address bar instead of clicking search results or advertisements. This landing page provides verified links to all platform versions and guides you through the initial setup process.
The only safe source
The official trezor suite download location is found at trezor.io/start, which redirects to the appropriate suite.trezor.io download page. Never download Suite from third-party app stores, software repositories, or links sent via email or social media. Scammers frequently create fake domains that look nearly identical to the real site but contain malware instead of legitimate software.
Only download Trezor Suite from domains ending in trezor.io.
Your download page should display options for:
- Desktop: Windows .exe, macOS .dmg, Linux packages
- Mobile: Links to official Google Play Store and Apple App Store listings
- Web version: Browser-based interface at suite.trezor.io (requires Chrome or Firefox)
The site displays the current version number and file sizes for each platform. Take note of these details before clicking any download button, as you'll verify them in the next step.
Step 2. Confirm you got the real installer
Verifying your Trezor Suite download protects you from modified installers that contain malware designed to steal your recovery seed. Scammers distribute fake versions through search engine ads, fake forums, and phishing emails that look identical to the real software until you examine the digital signature. This verification step takes less than two minutes but prevents the most common attack vector against hardware wallet users.
Check the file signature
Every legitimate Trezor Suite installer includes a digital signature from SatoshiLabs, the company behind Trezor. Right-click your downloaded file and select Properties (Windows) or Get Info (macOS) to view the signature details. The publisher field should display "SatoshiLabs s.r.o." or "SATOSHI LABS a.s." exactly as shown, with no spelling variations or additional characters.
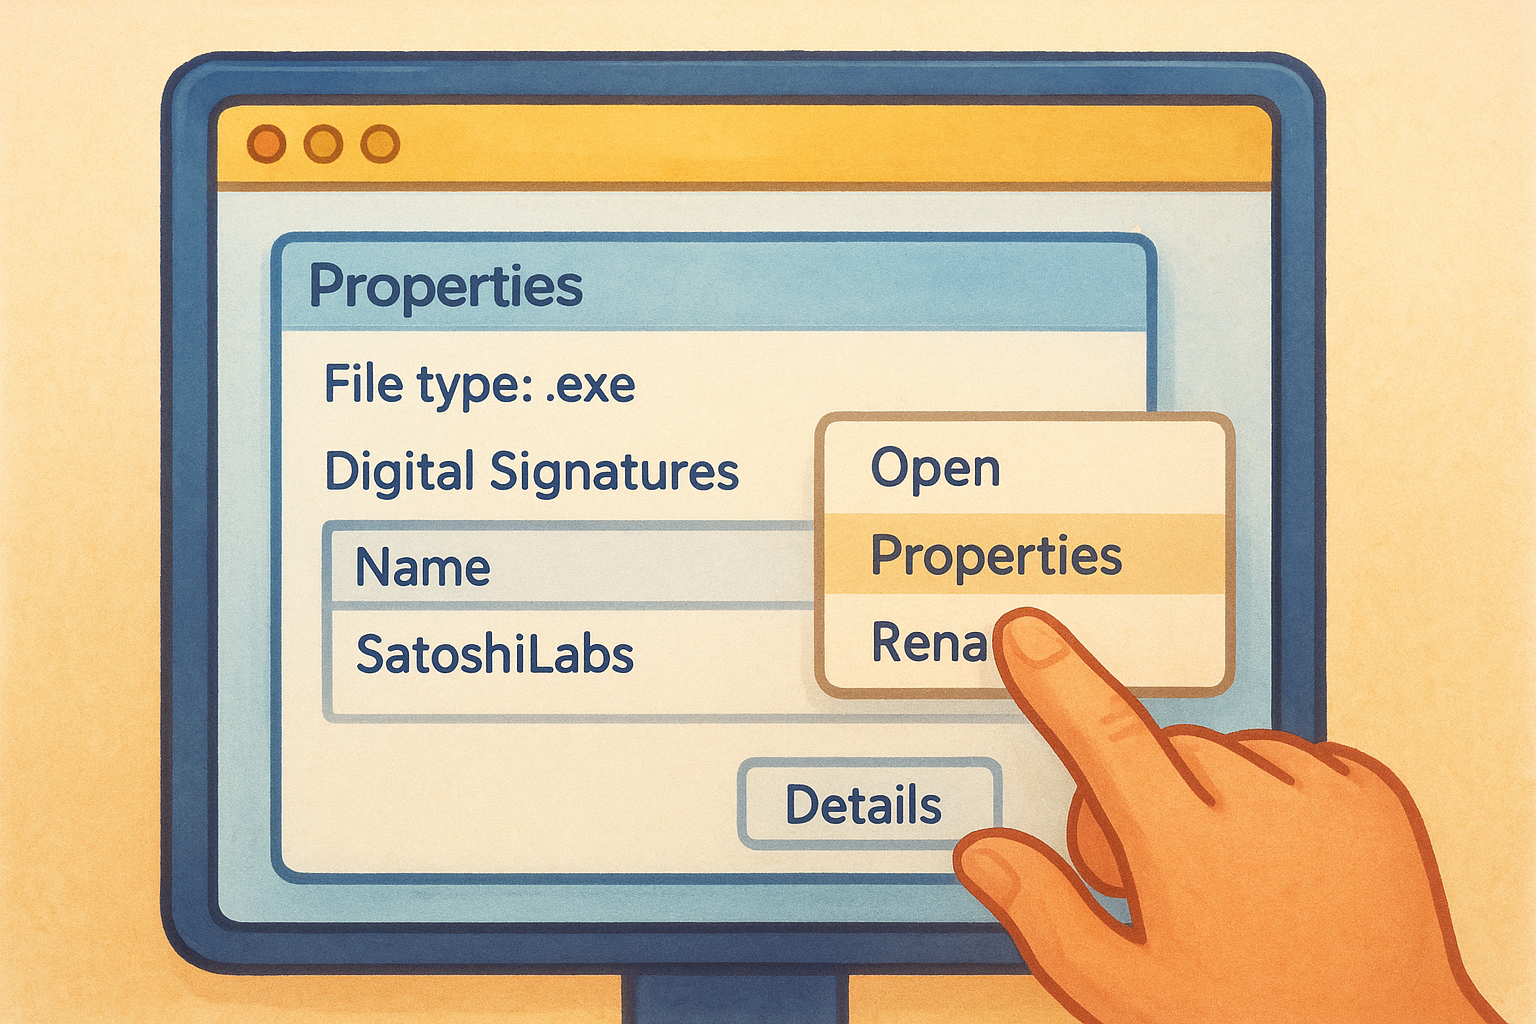
Windows users can verify the signature by:
- Right-click the .exe file and select Properties
- Click the Digital Signatures tab
- Confirm "SatoshiLabs" appears as the signer
- Click Details and verify the signature status shows "This digital signature is OK"
If the signature is missing or shows a different publisher name, delete the file immediately and download again from trezor.io/start.
macOS users see the signature automatically when opening the .dmg file, as the system displays a verification notification before mounting the installer.
Step 3. Install and open Suite on your device
Once you've verified your Trezor Suite download, the installation process takes less than five minutes across all platforms. Double-click the installer file and follow the platform-specific prompts that guide you through extracting and placing the application on your system. The installer automatically creates desktop shortcuts and adds Suite to your applications folder, making future access straightforward.
Run the installer
Windows users should double-click the .exe file and grant administrator permissions when prompted by the system security dialog. The installer extracts files to Program Files and creates shortcuts automatically without requiring configuration choices. macOS users drag the Trezor Suite icon from the .dmg window into the Applications folder as shown in the installer interface. Linux users can mark the .AppImage file as executable through file properties or install .deb/.rpm packages through their distribution's package manager.
The installation does not require an internet connection after you download the file.
Launch the application
Find the Trezor Suite icon on your desktop or in your applications folder and double-click to start the software for the first time. The initial launch triggers a brief initialization process that prepares the interface and checks for available firmware updates. Your screen displays the main Suite dashboard within seconds, ready for device connection in the next step.
Step 4. Connect, update, and finish wallet setup
After completing your Trezor Suite download and installation, you're ready to connect your hardware wallet and finish the initial configuration. The software automatically detects your device when you plug it into a USB port and guides you through any necessary firmware updates before creating or restoring your wallet. This final step ensures your Trezor operates with the latest security patches and proper initialization.
Connect your Trezor device
Plug your Trezor hardware wallet into an available USB port using the cable included with your device. Suite displays a connection notification within seconds and shows your device model in the top navigation bar. If the software doesn't recognize your Trezor immediately, unplug the device, restart Suite, and reconnect.
Always use the original USB cable that came with your Trezor for the most reliable connection.
Update firmware if prompted
Suite checks your device firmware version automatically and displays an update notification if a newer version is available. Click Update Firmware and follow the on-screen instructions that require you to confirm the action on your Trezor screen. The update process takes approximately three minutes and your device will restart automatically when complete. After updating, Suite presents options to create a new wallet or restore an existing one using your recovery seed.
Next steps
Your trezor suite download is complete and your hardware wallet is ready to secure your cryptocurrency holdings. The next priority is practicing the recovery seed backup process by writing down all 12 or 24 words on the physical cards provided with your device and storing them in a secure location away from your computer. Never photograph your seed or save it digitally, as this defeats the purpose of hardware wallet security.
After backing up your seed phrase, you should send a small test transaction to verify your wallet address works correctly before transferring larger amounts. Start with $20-$50 worth of crypto and confirm you can receive and send it through Suite without issues. This practice run eliminates anxiety when moving significant holdings to self-custody.
At FinTech Dynasty, we provide detailed comparisons of hardware wallets and practical security guides without the hype. Explore our resources to understand cold storage best practices and make informed decisions about protecting your digital assets long term.