

Electrum Multisig Wallet: Setup Guide For 2-of-3 Security
A single private key is a single point of failure. If it gets stolen, your crypto is gone. If you lose it, same result. An electrum multisig wallet solves this by requiring multiple keys to authorize a transaction, meaning no single compromised device or lost seed phrase can drain your funds. It's one of the most effective self-custody upgrades available, and Electrum makes it accessible without paying for premium software.
A 2-of-3 multisig setup means you create three keys and need any two of them to move funds. This gives you redundancy against loss and protection against theft at the same time. You can even distribute keys across hardware wallets and separate physical locations for stronger security.
This guide walks you through the full process, from creating a 2-of-3 multisig wallet in Electrum, to integrating hardware wallets, to sending your first transaction. At FinTech Dynasty, we focus on the practical side of crypto security, and multisig is a tool every long-term holder should understand. Whether you're protecting a significant portfolio or just want an extra layer of safety, this setup is worth learning step by step.
Multisig basics and what you need before you start
In a standard wallet, one key controls everything. Multisig changes that by distributing control across multiple keys, each stored separately. For your electrum multisig wallet, the 2-of-3 model means three keys exist, and any two must sign a transaction before it broadcasts. This structure removes the single point of failure that makes standard wallets risky.
How multisig keys work
Each key in a 2-of-3 setup is an independent wallet with its own seed phrase and extended public key (xpub). Electrum uses the xpubs from all three wallets to generate shared receiving addresses that only unlock when two private keys sign. No single key can move funds alone, which means a thief who steals one device gains nothing.
If someone gets access to two of your three keys, they can spend your funds, so physical separation of keys matters as much as the multisig setup itself.
What you need before you start
Before you open Electrum, gather everything listed below. Starting without these ready leads to incomplete setups and security gaps.
| Requirement | Details |
|---|---|
| Electrum installed | Download only from electrum.org and verify the GPG signature |
| 3 separate keystores | Hardware wallets (recommended) or separate Electrum installs on air-gapped machines |
| Secure storage for seed phrases | Metal backup or fireproof safe for each seed |
| Pen and paper | Write down xpubs and the wallet descriptor before funding |
| Time | Allow 45 to 60 minutes for a first-time setup |
Using hardware wallets for at least two of the three keys gives you the strongest configuration. Each device stays offline, which keeps the signing process separate from any internet-connected machine.
Step 1. Plan your 2-of-3 setup and cosigners
Before you touch Electrum, decide exactly who holds each key and where each key lives physically. Poor planning at this stage leads to a setup that is difficult or impossible to recover from if one device fails or one location becomes inaccessible.
Choose your three keystores
Your three keystores should be physically and digitally separate from each other. The most common configuration for an electrum multisig wallet uses two hardware wallets, such as a Ledger and a Trezor, plus a third key stored on an air-gapped laptop that never connects to the internet.
Mixing two different hardware wallet brands reduces the risk that a single firmware vulnerability compromises more than one key at once.
Map out your key locations
Write down a clear plan before you generate any keys. Use this template to organize your setup and keep it with your other wallet records:
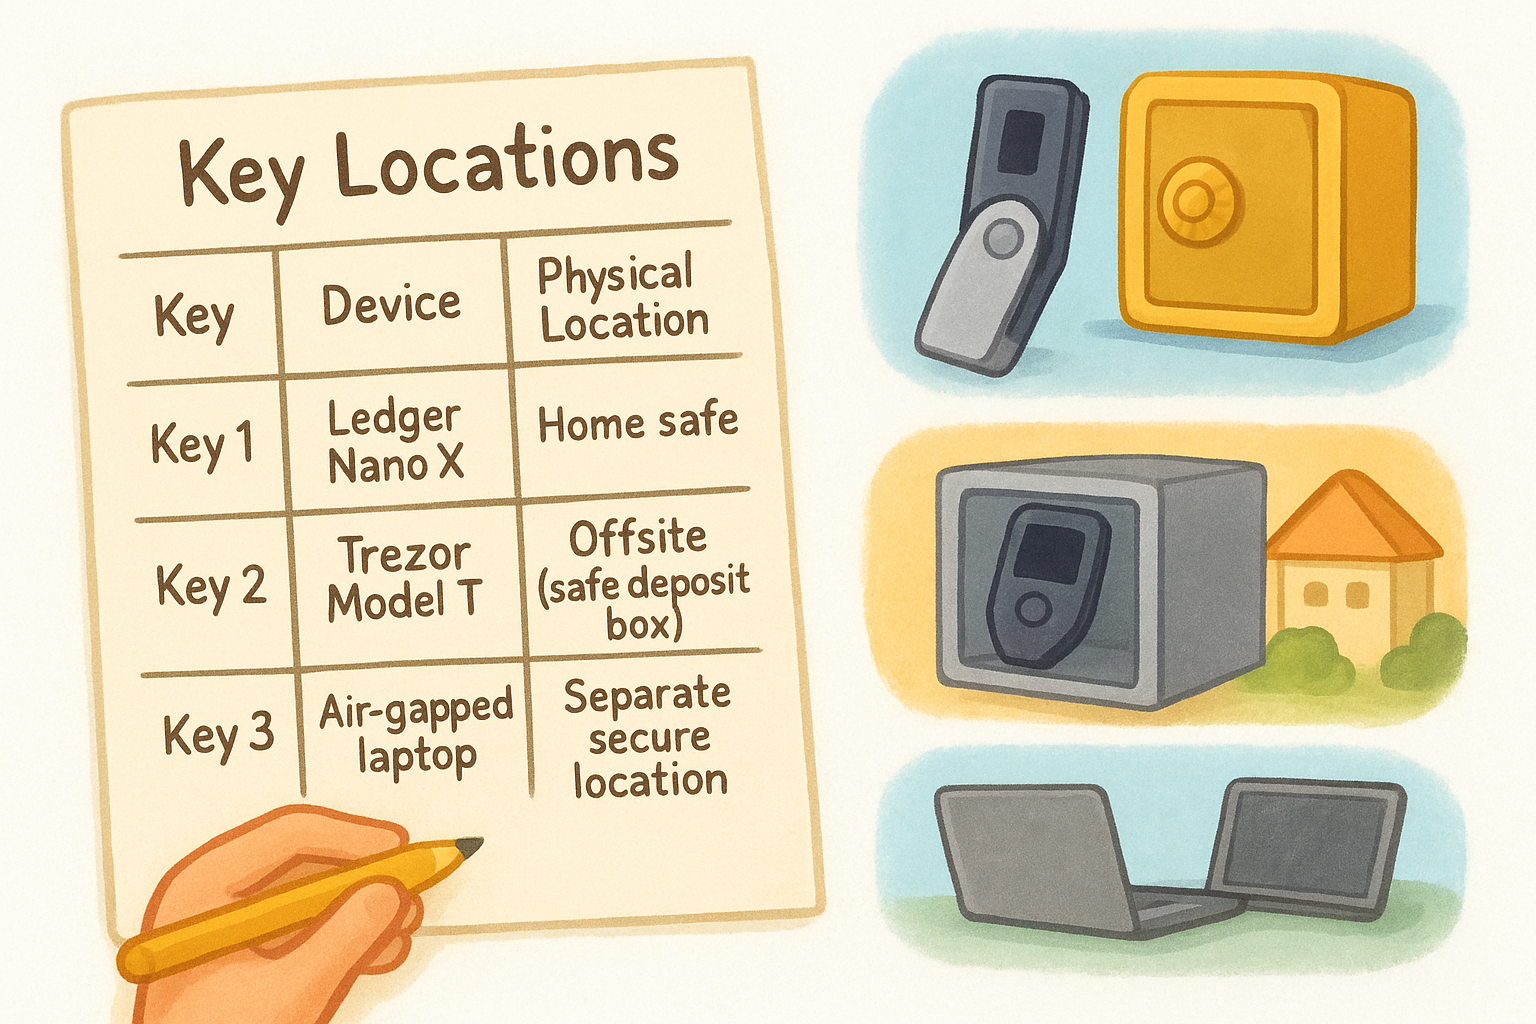
| Key | Device | Physical Location |
|---|---|---|
| Key 1 | Ledger Nano X | Home safe |
| Key 2 | Trezor Model T | Offsite (safe deposit box) |
| Key 3 | Air-gapped laptop | Separate secure location |
Keeping at least one key offsite ensures that a fire or theft at your primary location cannot expose two keys at once. Your goal is to make sure no single event puts two signers within reach of the same threat.
Step 2. Create a 2-of-3 multisig wallet in Electrum
Open Electrum and begin creating a new wallet file. The steps below walk you through the complete creation process for your electrum multisig wallet, from setting the signature threshold to importing all three cosigner xpubs.
Open the wallet creation wizard
Click File > New/Restore in Electrum and give your wallet file a distinct name such as multisig-2of3.wallet. On the next screen, select "Multi-signature wallet" from the list of wallet types. Electrum will then ask you to set the total number of cosigners to 3 and the required signatures to 2. Confirm both values before you move forward.
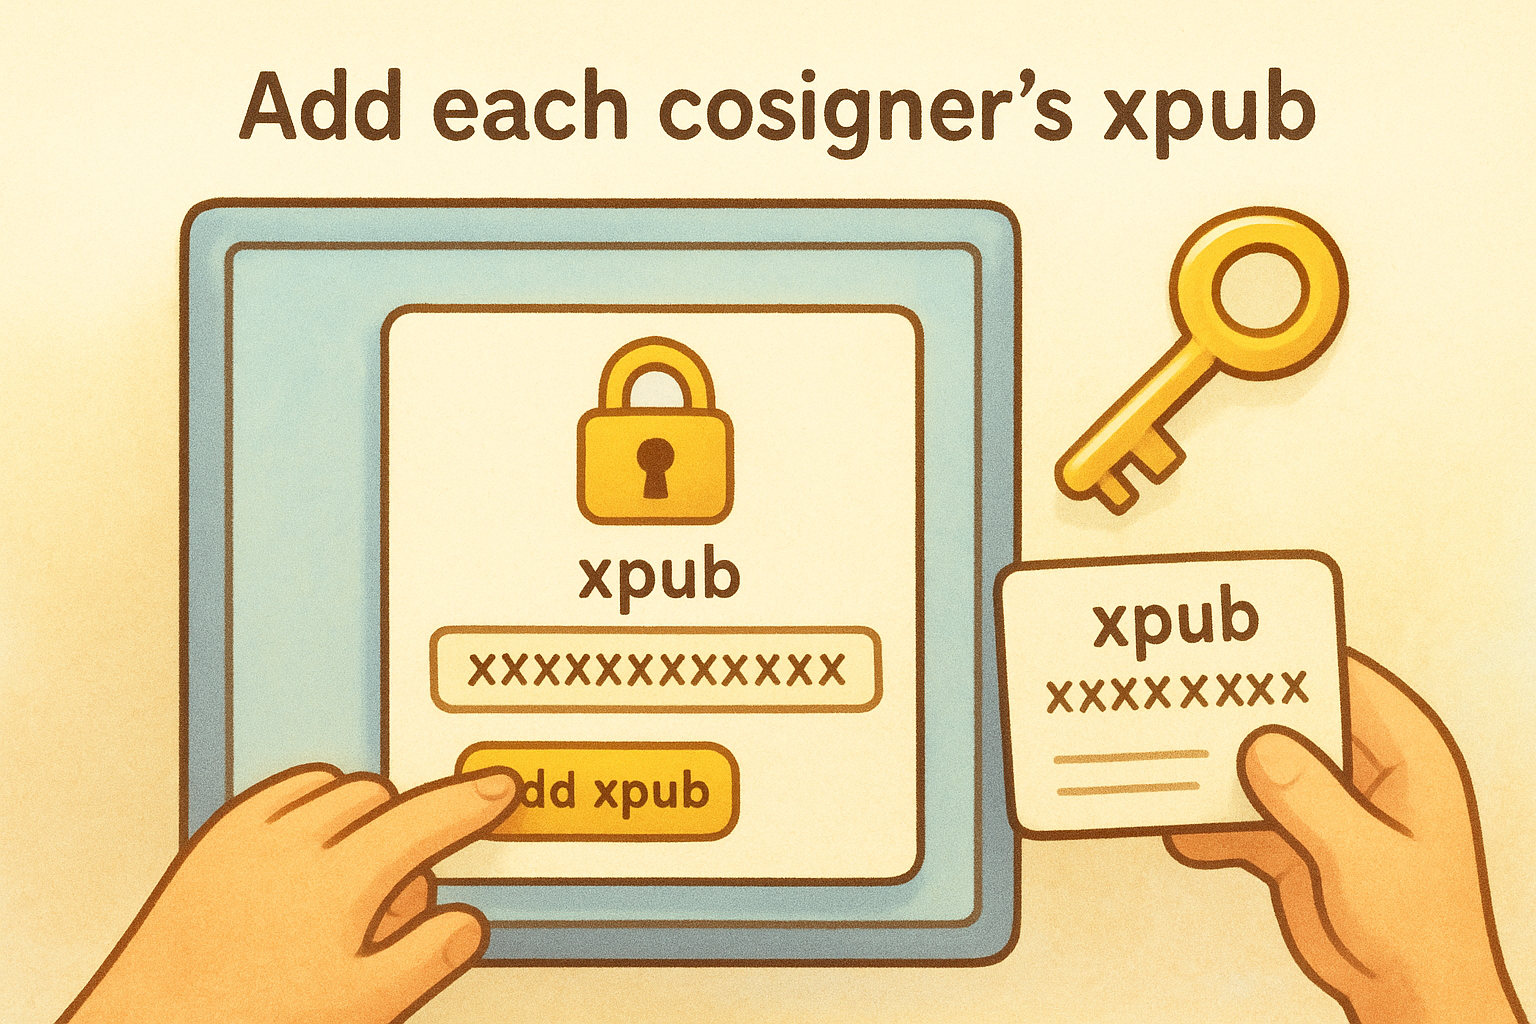
Add each cosigner's xpub
Electrum prompts you to add each cosigner one at a time. For hardware wallet cosigners, connect the device, select the matching hardware wallet option in the dialog, and let Electrum pull the xpub directly from the device. For a software key stored on an air-gapped machine, open that Electrum instance, navigate to Wallet > Information, copy the master public key, and paste it into the multisig setup window. Repeat this process for all three keys.
Record the complete wallet descriptor file immediately after Electrum finishes the setup. Without it, reconstructing the multisig wallet from seed phrases alone becomes significantly harder.
Step 3. Verify addresses and lock in your configuration
After Electrum generates your multisig wallet, your first task is confirming that all three keystores agree on the same receiving addresses. Skipping this step can lead to sending funds to an address that one or more devices do not recognize, making recovery far harder than it needs to be.
Cross-check addresses on each device
Open the Addresses tab in Electrum and note the first receiving address shown. Then verify that address directly on each hardware wallet's own screen, without trusting your computer display alone. Your electrum multisig wallet is correctly assembled only when every signing device shows the same address independently. Use this quick checklist to work through each signer:
- Connect hardware wallet 1 and confirm the address on its screen
- Connect hardware wallet 2 and repeat the check
- Open the air-gapped keystore and verify the address matches exactly
Never fund a multisig wallet until you have verified at least one address on every signing device involved.
Save your wallet descriptor
Electrum stores your wallet descriptor, which contains all three xpubs and the script type, inside the wallet file itself. Copy this file to two separate encrypted USB drives and keep each drive in a different physical location.
Without this descriptor, reconstructing the wallet from seed phrases alone is error-prone and significantly more time-consuming than most people expect.
Step 4. Receive and spend with two signatures
Your electrum multisig wallet now handles receiving and spending differently from a standard wallet. Receiving is straightforward, but spending requires you to collect two independent signatures before Electrum can broadcast the transaction.
Receiving funds
Sharing your wallet's receiving address works the same way as any other Electrum wallet. Open the Receive tab, copy the address shown, and give it to whoever is sending you funds. You do not need any signing devices present to receive, since the address is generated from the xpubs alone.
Always verify each new receiving address on at least one hardware wallet screen before sharing it with a sender.
Signing and broadcasting a spend
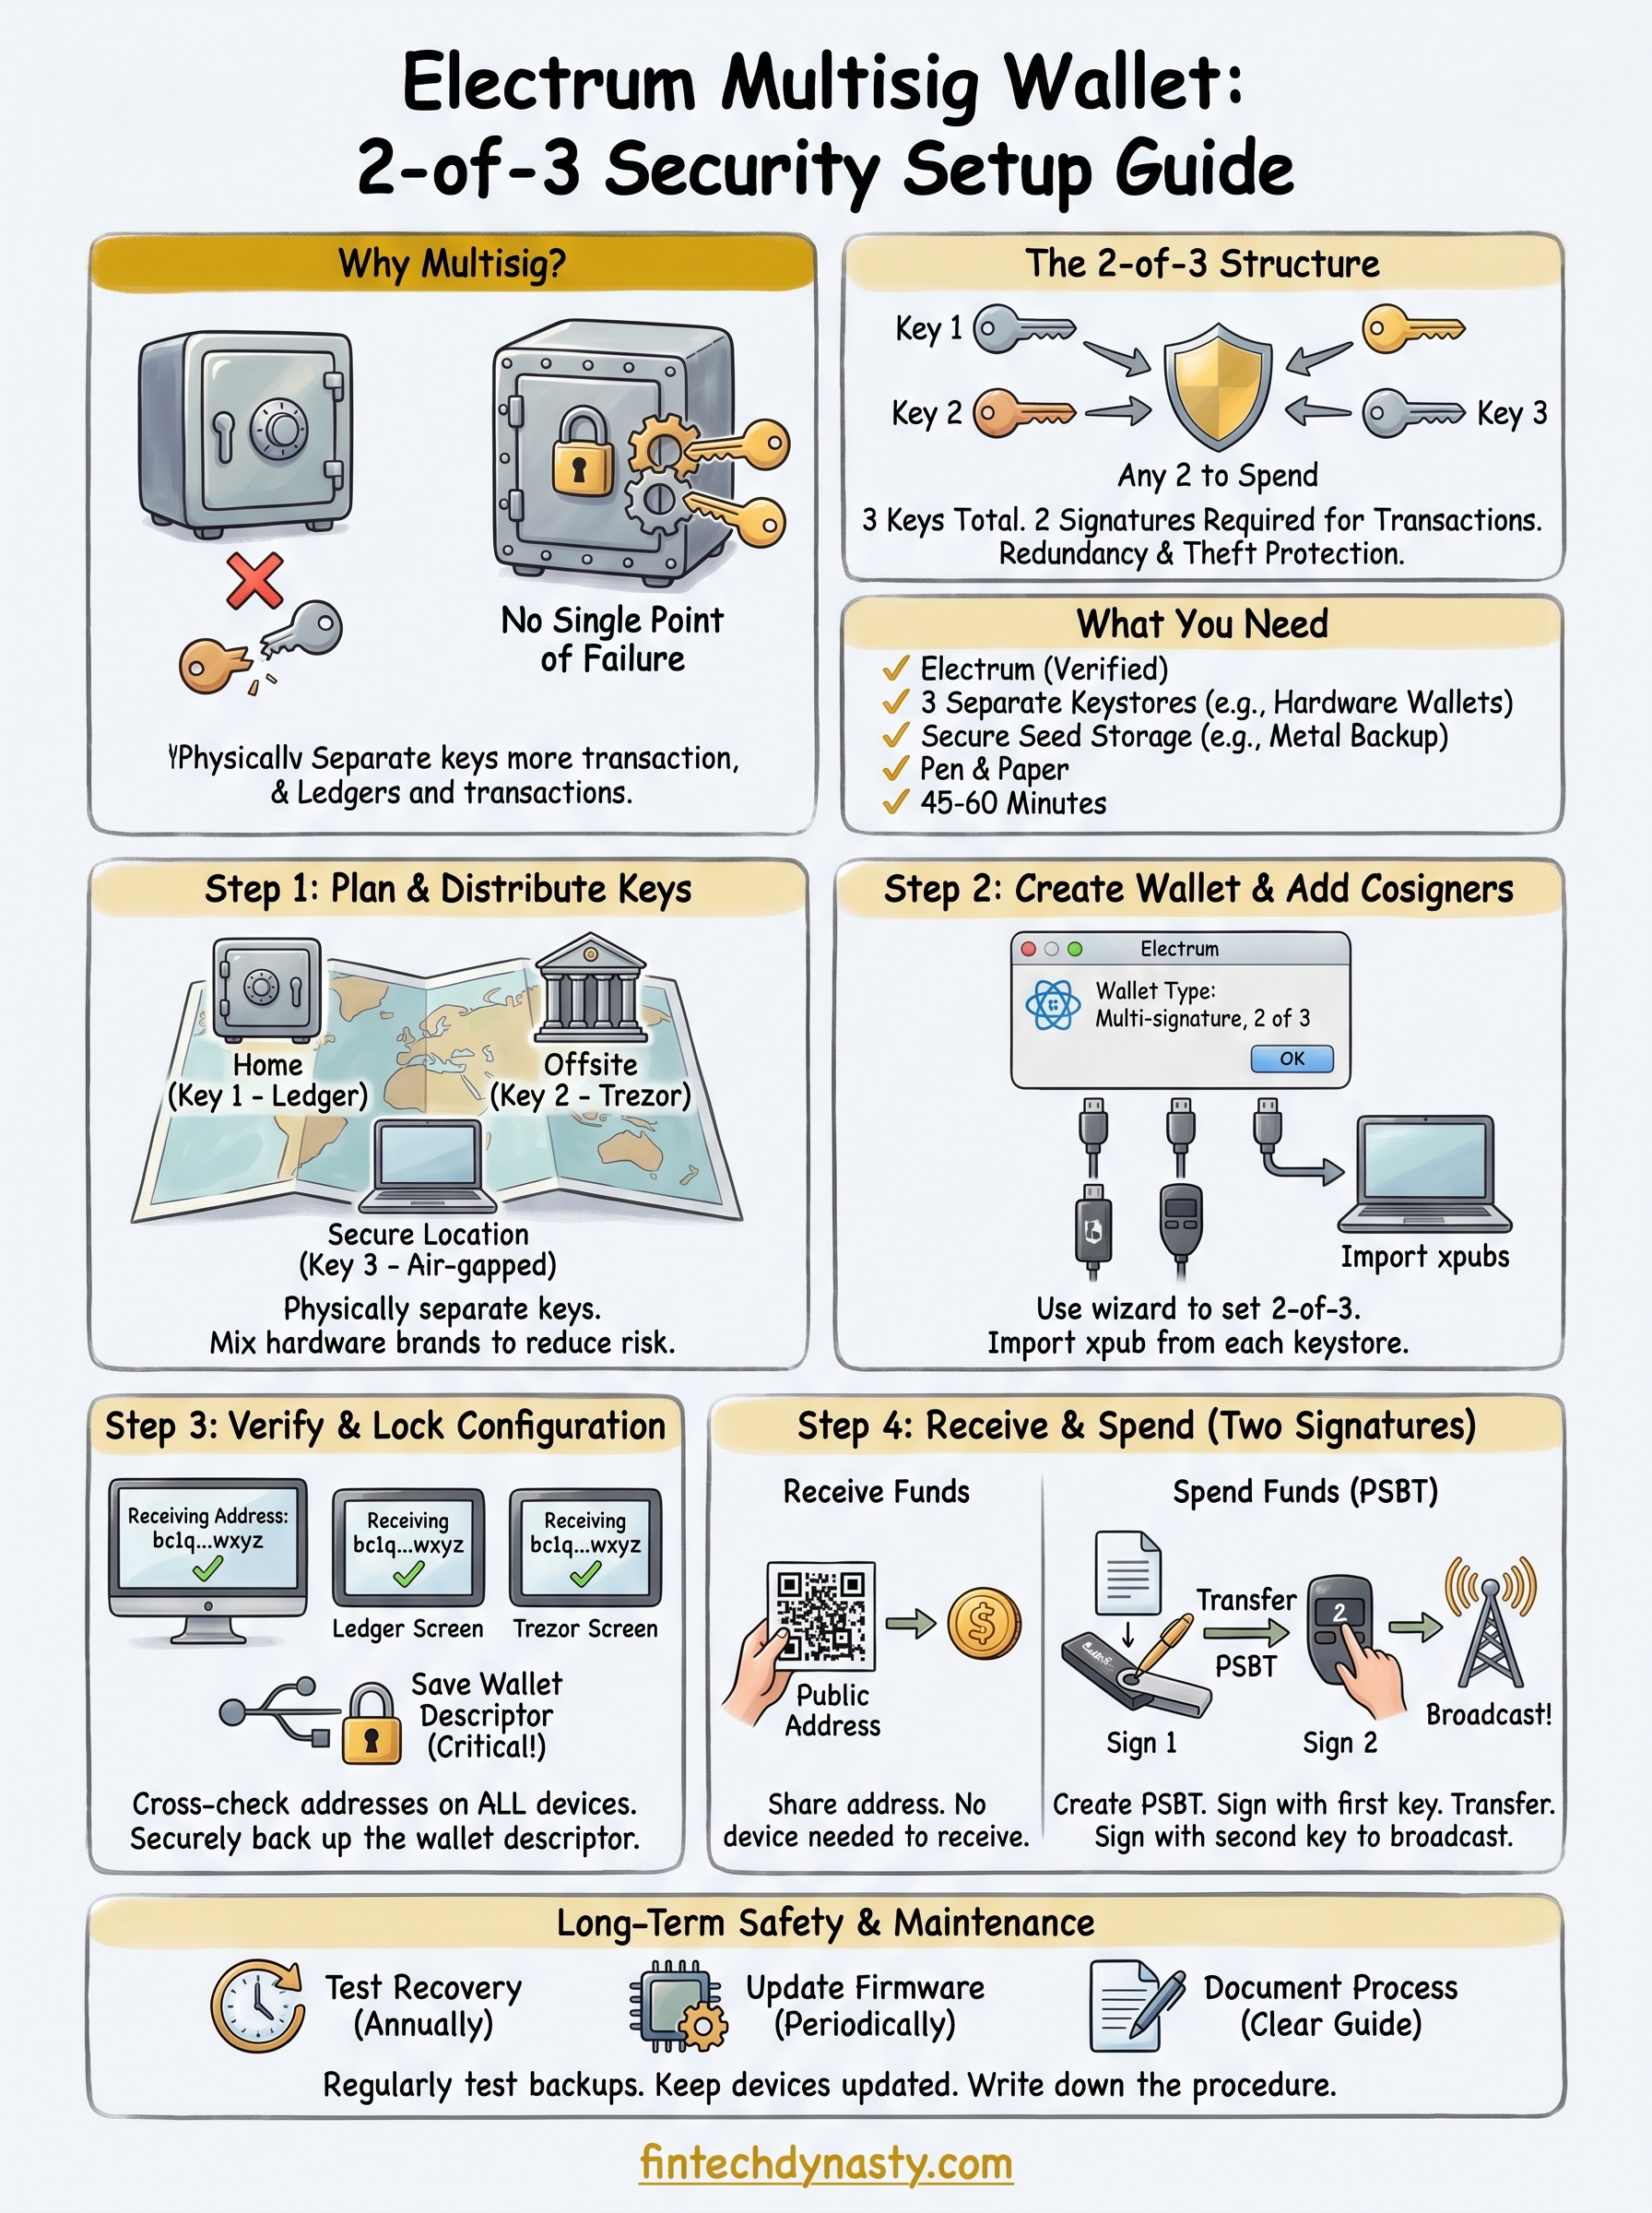
To send funds, open the Send tab in Electrum, enter the destination address and amount, and click Pay. Electrum creates an unsigned transaction file in .psbt format. You then sign it with your first key by connecting that hardware wallet and approving the transaction on the device screen. Save the partially signed file and transfer it to your second signer, either by USB or QR code if your device supports it. Apply the second signature, and Electrum will immediately broadcast the completed transaction to the network.
Next steps to keep it safe long term
Your electrum multisig wallet setup is only as strong as the habits you build around it. Test your recovery process before you store significant funds, meaning restore the wallet from your descriptor file and seed phrases on a clean machine to confirm everything works. Repeat this drill at least once a year so you stay confident the backup actually functions.
Store your wallet descriptor file on two encrypted USB drives in separate locations, and update those copies any time you make changes to the wallet. Check each hardware wallet's firmware every few months and apply updates promptly, since outdated firmware can carry unpatched vulnerabilities.
Beyond the technical setup, your biggest long-term risk is forgetting how the system works. Document your signing process in a clear, written guide that a trusted person could follow in an emergency. If you want structured help building these habits from the ground up, the FinTech Dynasty crypto security course walks you through every layer of self-custody in plain language.