

Sparrow Wallet Multisig: Step-By-Step With Hardware Wallets
A single hardware wallet protects your Bitcoin from online threats. But what happens if that one device is lost, stolen, or compromised? That's the problem Sparrow Wallet multisig solves, it requires multiple keys to authorize a transaction, so no single point of failure can wipe you out.
Sparrow Wallet is a free, open-source Bitcoin wallet built for users who want full control over their transactions. Its multisig feature lets you combine multiple hardware wallets, like a Ledger and a Trezor, into one coordinated setup where two or more signatures are needed to move funds. It's one of the most practical upgrades available for long-term self-custody.
Here at FinTech Dynasty, we focus on the security side of crypto, no price speculation, no hype, just practical guidance for protecting your assets. This guide walks you through setting up a multisig wallet in Sparrow step by step, from choosing your hardware signers to creating your first multisig transaction. Whether you're upgrading from a single-key setup or building a multisig vault from scratch, you'll have everything you need to get it done right.
What Sparrow Wallet multisig is and when to use it
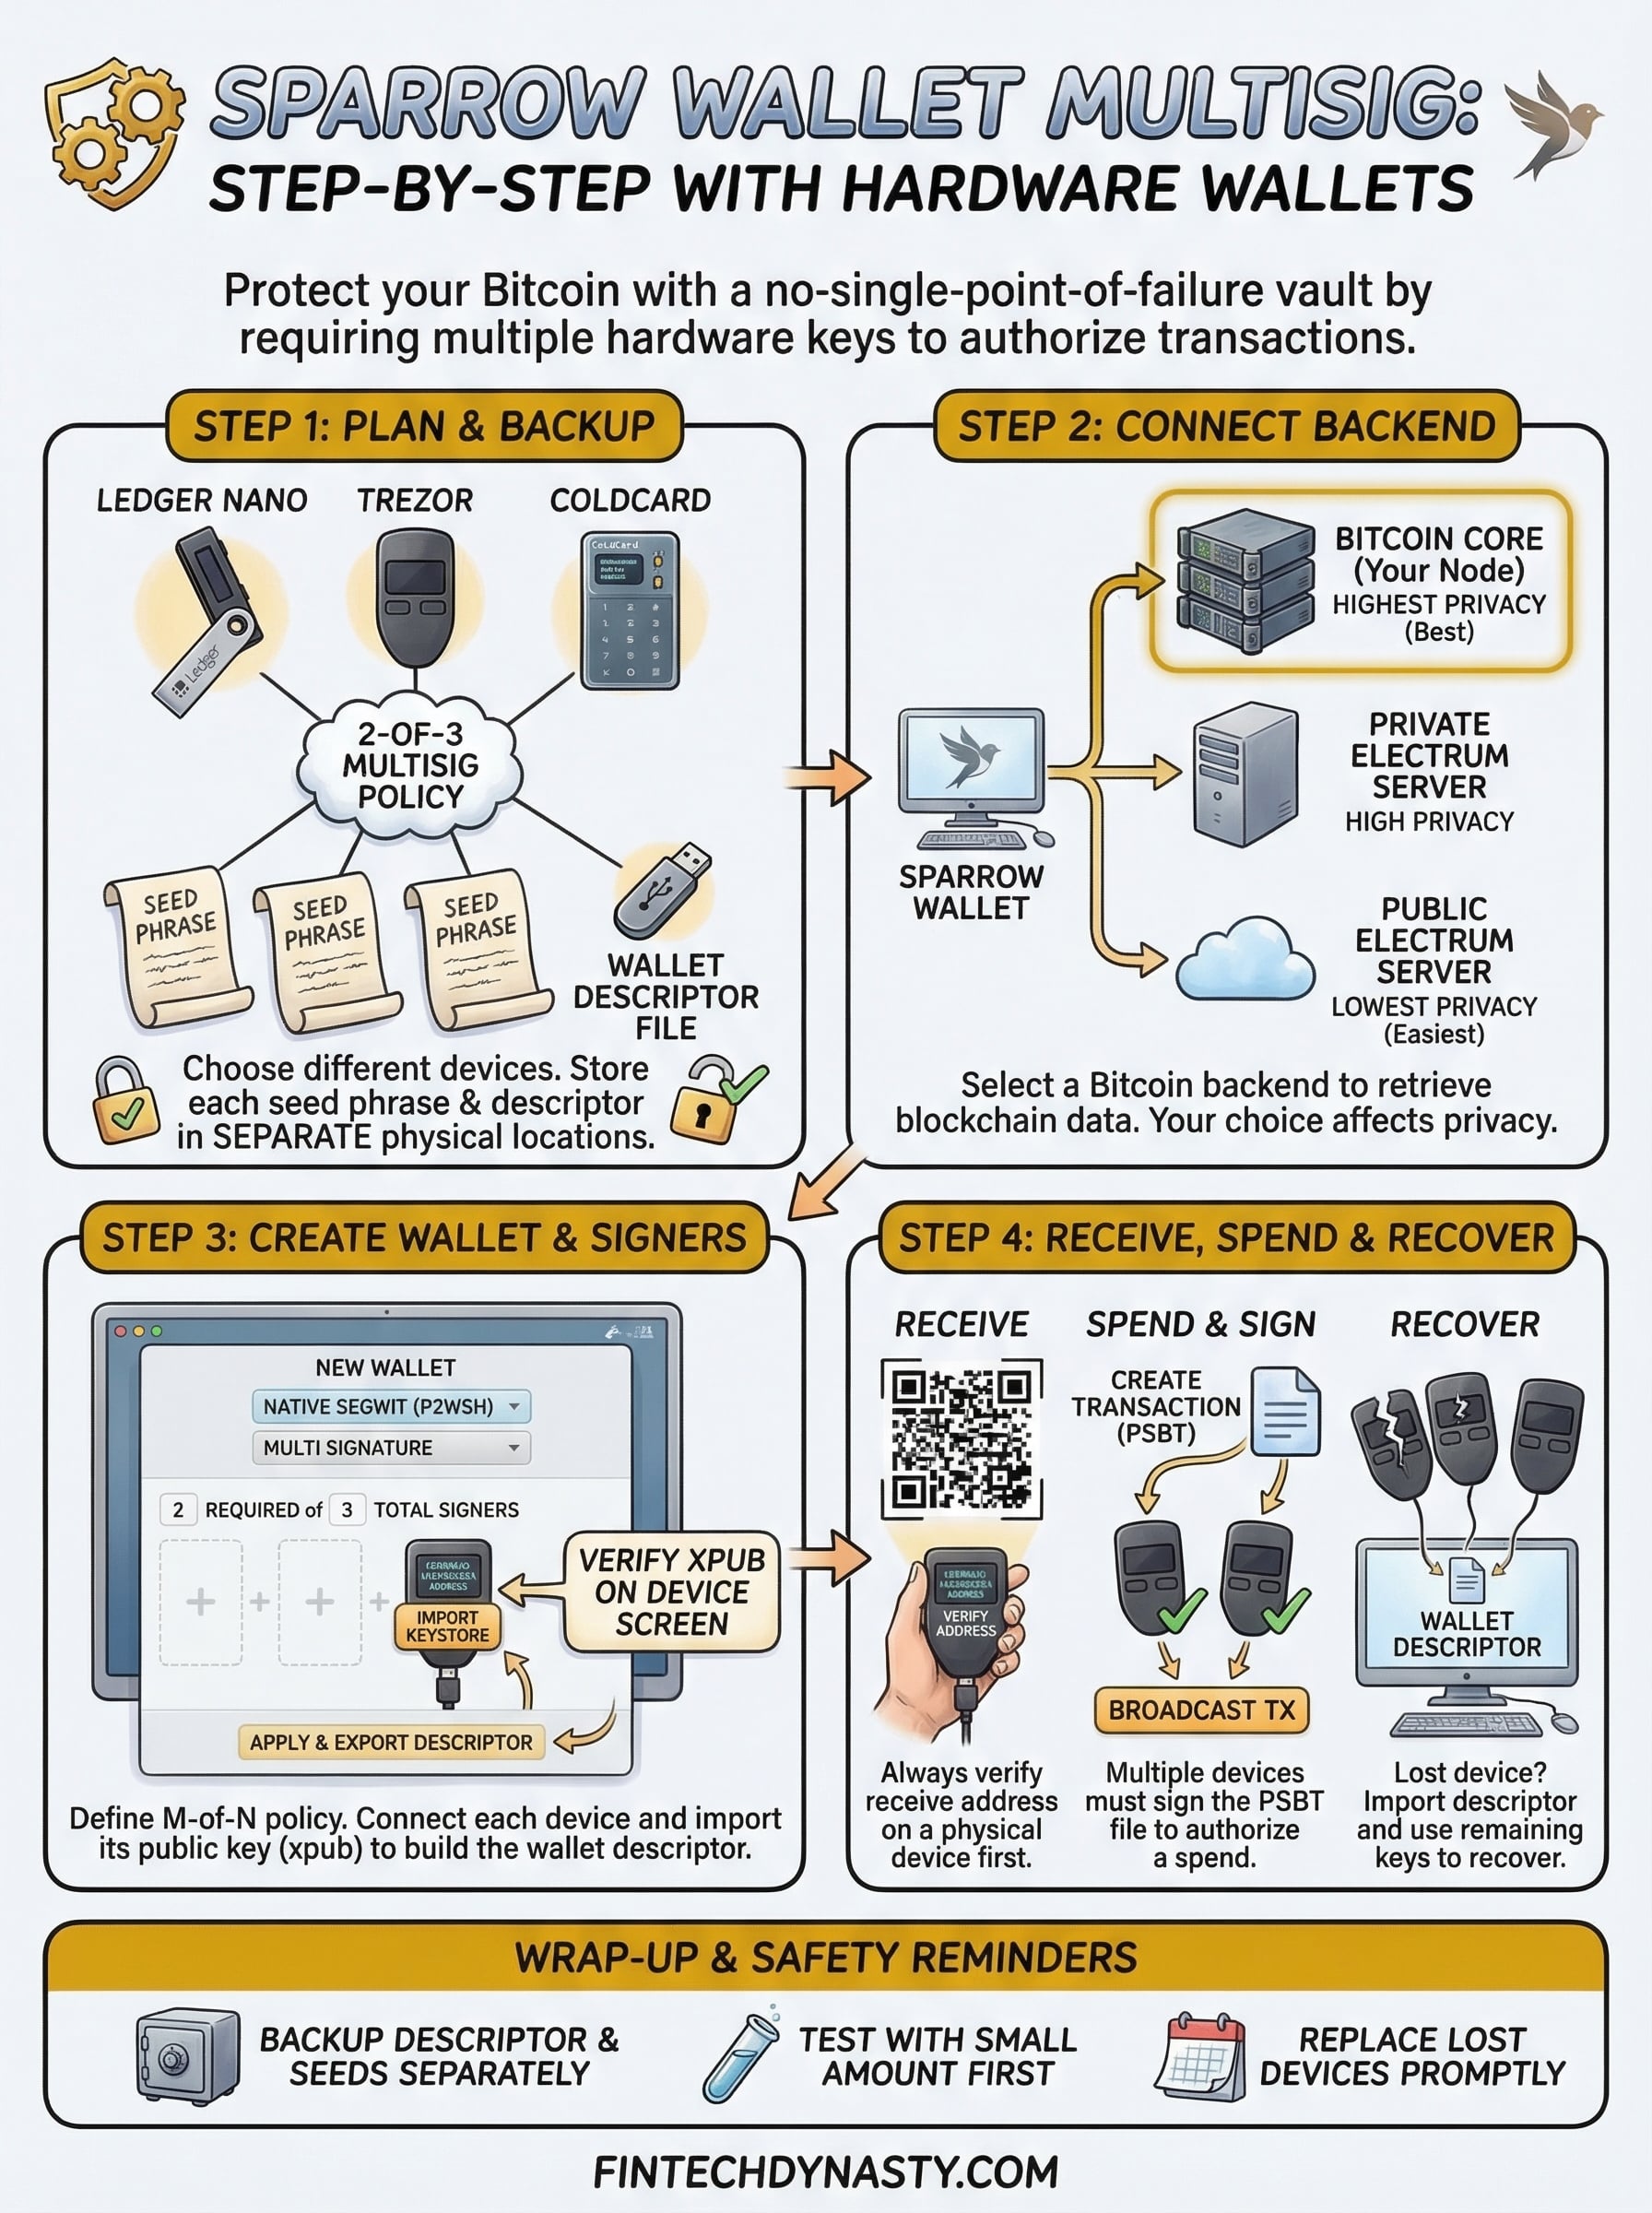
Sparrow Wallet multisig turns your Bitcoin wallet into a vault that requires multiple independent keys to authorize any outgoing transaction. Instead of one key controlling everything, you define an "m-of-n" policy, for example 2-of-3, meaning two out of three designated signers must approve before Bitcoin moves. Sparrow coordinates all of this locally on your computer, giving you full visibility into every input, output, and fee without relying on any third-party service.
How multisig policies work
The m-of-n structure is the core concept behind any multisig configuration. Each "n" represents a separate hardware wallet or signing device that holds one key, and "m" is the minimum number of those keys required to spend. Sparrow handles the coordination by combining each device's extended public key (xpub) into a single wallet descriptor that defines the spending policy.
| Configuration | Keys Required | Total Keys | Common Use Case |
|---|---|---|---|
| 2-of-3 | 2 | 3 | Personal vault with one backup key |
| 3-of-5 | 3 | 5 | Organizational or shared treasury |
| 2-of-2 | 2 | 2 | Two-party joint custody |
A 2-of-3 setup is the most practical starting point for individuals because it tolerates the loss of one key while still requiring more than one approval to spend.
When multisig makes sense for you
Multisig is not the right tool for every situation. If you hold a small amount of Bitcoin that you access frequently, a single hardware wallet is simpler and more practical. Multisig fits best when you hold a significant long-term balance you plan to rarely touch.
Consider building a multisig setup if you want to guard against a single device being physically stolen, if you share custody with a trusted partner, or if you want one key stored off-site in a physically separate location from the others.
Step 1. Plan your multisig setup and backups
Before you open Sparrow Wallet, take time to decide what devices you'll use and how you'll store each backup. Rushing into setup without a clear plan is the most common mistake people make, and it creates real recovery risk later.
Choose your signing devices
Your sparrow wallet multisig setup works best when each signing device is a different brand. Using a Ledger, a Trezor, and a Coldcard together means a firmware vulnerability in one manufacturer cannot compromise your entire setup. Aim for a 2-of-3 configuration as your starting point unless you have a specific reason to go higher.
Back up your wallet descriptor and seed phrases
Each hardware wallet generates its own seed phrase, and you must back up every one of them separately before you start. Losing even one seed phrase doesn't immediately break a 2-of-3 setup, but it removes your safety margin.
The wallet descriptor file Sparrow exports contains all three public keys and your spending policy. Store it separately from your seed phrases so you can always reconstruct the wallet structure.
Keep the following ready before moving to Step 2:
- All hardware devices charged and initialized
- Each seed phrase written on paper and stored in separate physical locations
- A USB drive or secure folder for your Sparrow wallet descriptor export
Step 2. Connect Sparrow to a Bitcoin backend
Before you create your sparrow wallet multisig setup, Sparrow needs a Bitcoin backend to retrieve blockchain data. Without one, Sparrow cannot track your wallet balance or build valid transactions. You have three connection options, and the one you choose directly affects both your privacy and your trust model.
Running your own Bitcoin Core node gives you the strongest privacy guarantee because no external server ever sees your wallet's addresses.
Your three backend options
Each option trades convenience against privacy. Review the comparison below before you decide:
| Backend | Privacy Level | Setup Complexity |
|---|---|---|
| Bitcoin Core (your own node) | Highest | High |
| Private Electrum Server | High | Medium |
| Public Electrum Server | Lowest | Low |
Connect Sparrow to your chosen backend
Open Sparrow Wallet and navigate to File > Preferences > Server. Select your backend type from the list. If you're using a public Electrum server to get started quickly, choose "Public Server" and click "Test Connection" to confirm the link. For Bitcoin Core, enter your node's RPC credentials and local port, which defaults to 8332. Sparrow will display the current block height once the connection succeeds. When you see a green checkmark, the backend is active and the wallet is ready for the next step.
Step 3. Create the multisig wallet and add signers
With your backend connected, you're ready to build the actual sparrow wallet multisig structure. Open Sparrow and click File > New Wallet, give it a clear name like "Bitcoin Vault 2of3," then set the Script Type to "Native Segwit (P2WSH)" for the best fee efficiency, and change the Policy Type to "Multi Signature."
Set the threshold and import each signer
Set your cosigners count to 3 and your required signatures to 2. Sparrow will display three empty signer slots. For each slot, connect one hardware wallet via USB, click "Connected Hardware Wallet," and let Sparrow detect the device. Select "Import Keystore" to pull the device's xpub directly from the hardware wallet's screen, then repeat this process for every remaining device.
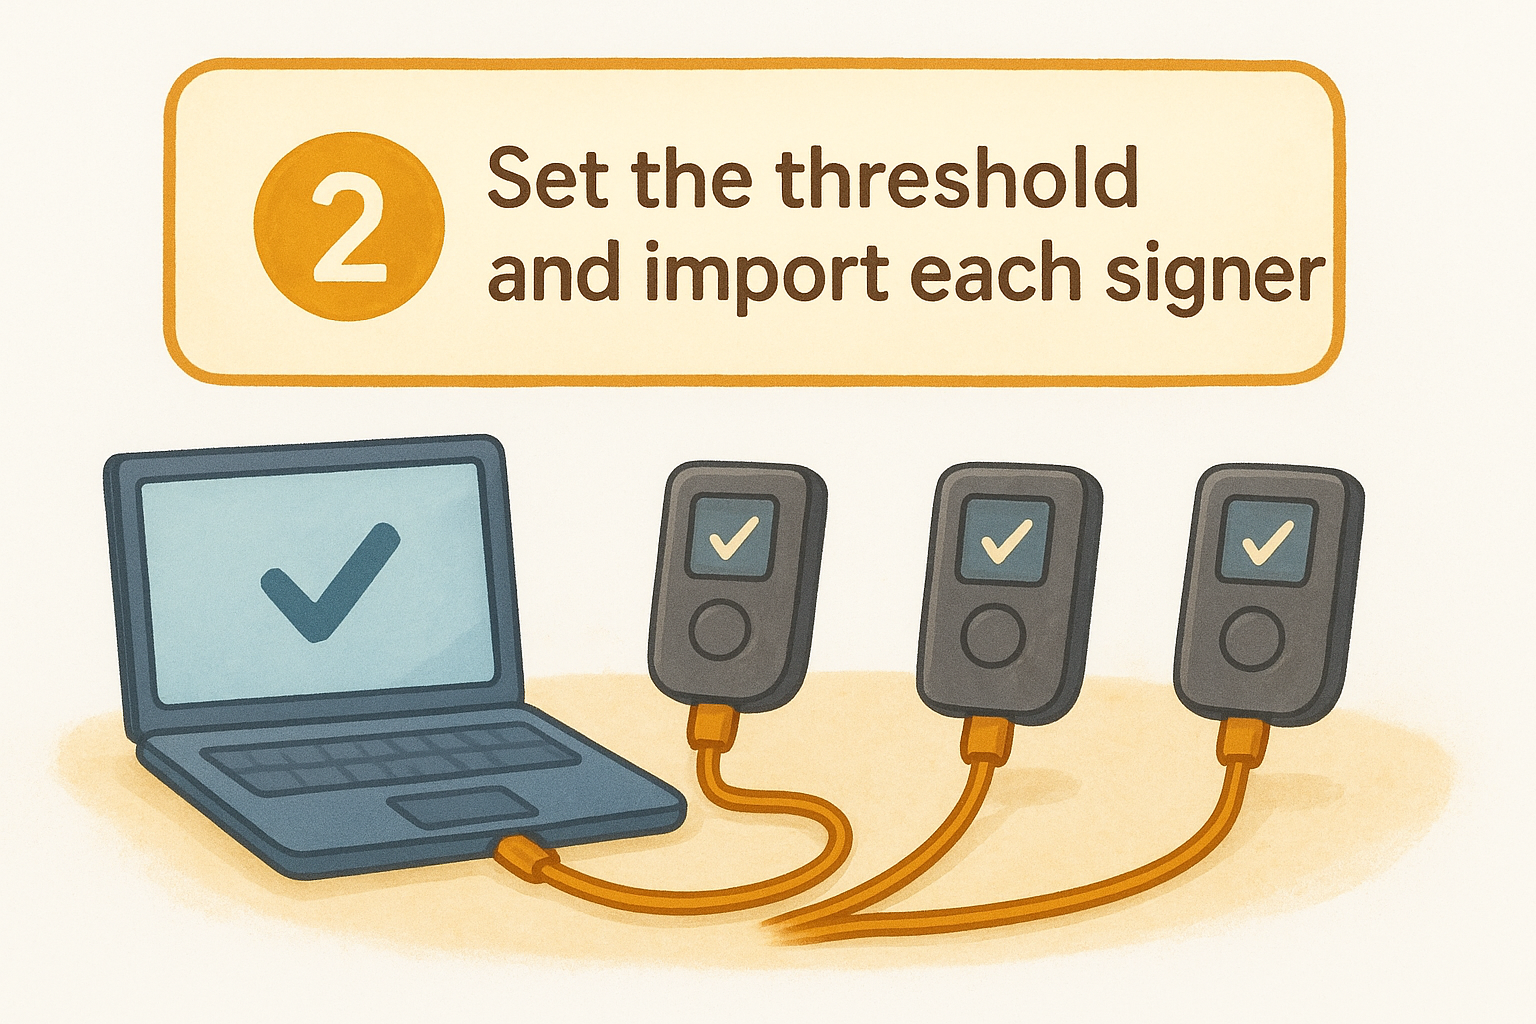
Always confirm that the xpub shown in Sparrow matches the address your hardware wallet displays before moving to the next slot.
Apply and export the wallet descriptor
Once all three keystores are imported, Sparrow assembles the wallet descriptor automatically from the combined public keys. Click "Apply" and save the wallet file when Sparrow prompts you. Export the descriptor immediately using File > Export Wallet and store that file in a location physically separate from every seed phrase backup.
Step 4. Receive, spend, and recover safely
Your multisig wallet is now active and ready to use. This step covers the three core operations you'll perform over its lifetime: receiving funds, spending safely, and recovering the wallet if a device is ever lost or damaged.
Receiving Bitcoin
To receive Bitcoin, open Sparrow and click the Receive tab. Sparrow displays a deposit address along with a QR code. Before sharing this address, verify it on at least one of your hardware wallets by clicking "Display Address" in Sparrow, which prompts the device to show the matching address on its own screen. Confirm the address matches exactly before sending any funds.
Never send Bitcoin to a multisig address you haven't verified on a physical device at least once.
Spending and Signing a Transaction
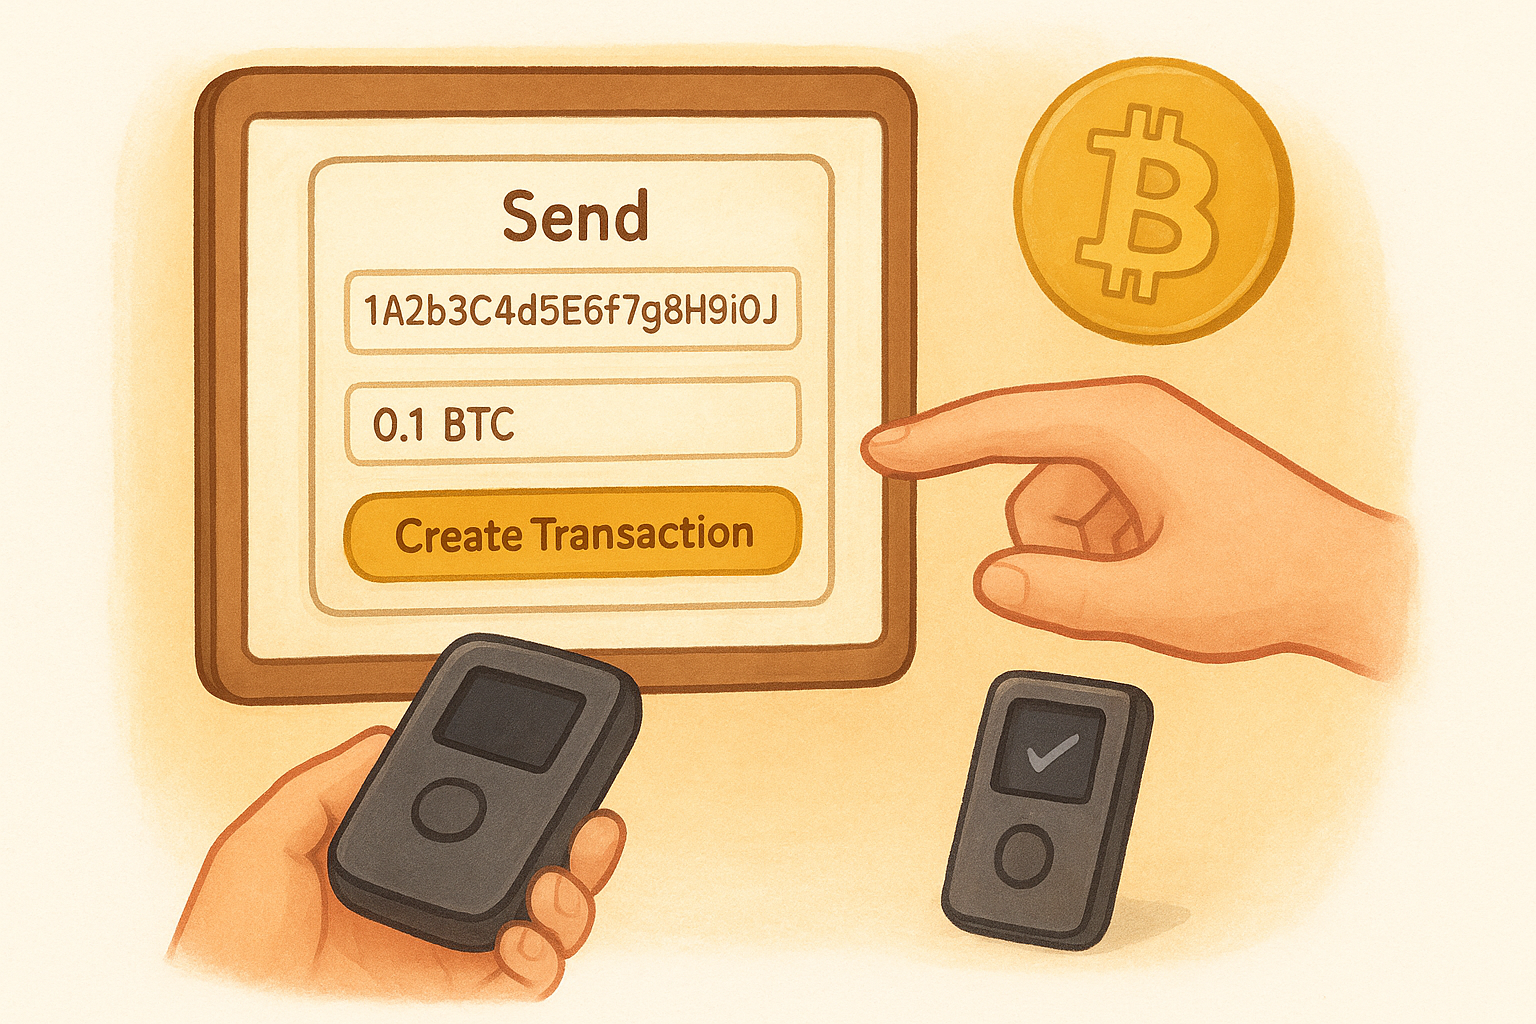
To spend, navigate to the Send tab, enter the recipient address and amount, then click "Create Transaction." Sparrow builds a PSBT (Partially Signed Bitcoin Transaction) file. Connect your first hardware wallet, click "Sign," and export the PSBT. Repeat with a second device. Once two signatures are collected, click "Broadcast Transaction" to push it to the network.
Recovering Your Wallet
If you lose one device, import your wallet descriptor into a fresh Sparrow install, then reconnect your remaining keystores. Your sparrow wallet multisig stays fully functional with two working signers while you replace the lost device.
Wrap-up and safety reminders
Setting up a sparrow wallet multisig configuration is one of the most effective ways to protect a long-term Bitcoin holding. You now have a complete path from choosing your hardware signers to broadcasting your first fully signed transaction.
Keep these safety reminders in mind as you manage your vault:
- Back up your wallet descriptor separately from every seed phrase
- Verify receiving addresses on a physical device before sending funds
- Test a full signing cycle with a small test amount before storing large balances
- Replace any lost signing device promptly to restore your safety margin
- Never store two seed phrases in the same physical location
Your setup is only as strong as your backup discipline and your commitment to testing it regularly. If you want to go deeper on hardware wallet selection, security models, and cold storage best practices, visit FinTech Dynasty for independent, no-hype guides built specifically for self-custody.