

How To Set Up BlueWallet Multisig Vault For Cold Storage
Storing Bitcoin on a single wallet means one compromised key can wipe out everything. That's where BlueWallet multisig comes in, a free, open-source option that lets you create a "Vault" requiring multiple keys to authorize any transaction. If one key is lost or stolen, your funds stay locked and safe.
BlueWallet's Vault feature brings multi-signature security to your phone without needing expensive hardware or complex command-line tools. You define how many keys are required (for example, 2-of-3), distribute them across separate devices or locations, and eliminate the single point of failure that makes standard wallets risky. For long-term holders serious about self-custody, it's one of the most practical cold storage setups available right now.
At FinTech Dynasty, we focus on helping you protect your digital assets through independent research and practical security guides, no price hype, no speculation. This walkthrough breaks down exactly how to create your BlueWallet multisig Vault step by step, from initial setup to backing up your keys and sending your first test transaction.
What BlueWallet multisig vault is and who it fits
A standard Bitcoin wallet uses one private key to control all funds. Lose that key, and everything is gone. BlueWallet's Vault is a multi-signature wallet built into the free BlueWallet app, designed to require more than one key before any transaction can be authorized. That threshold model is what makes it fundamentally safer than a single-key setup for serious cold storage.
How the Vault works under the hood
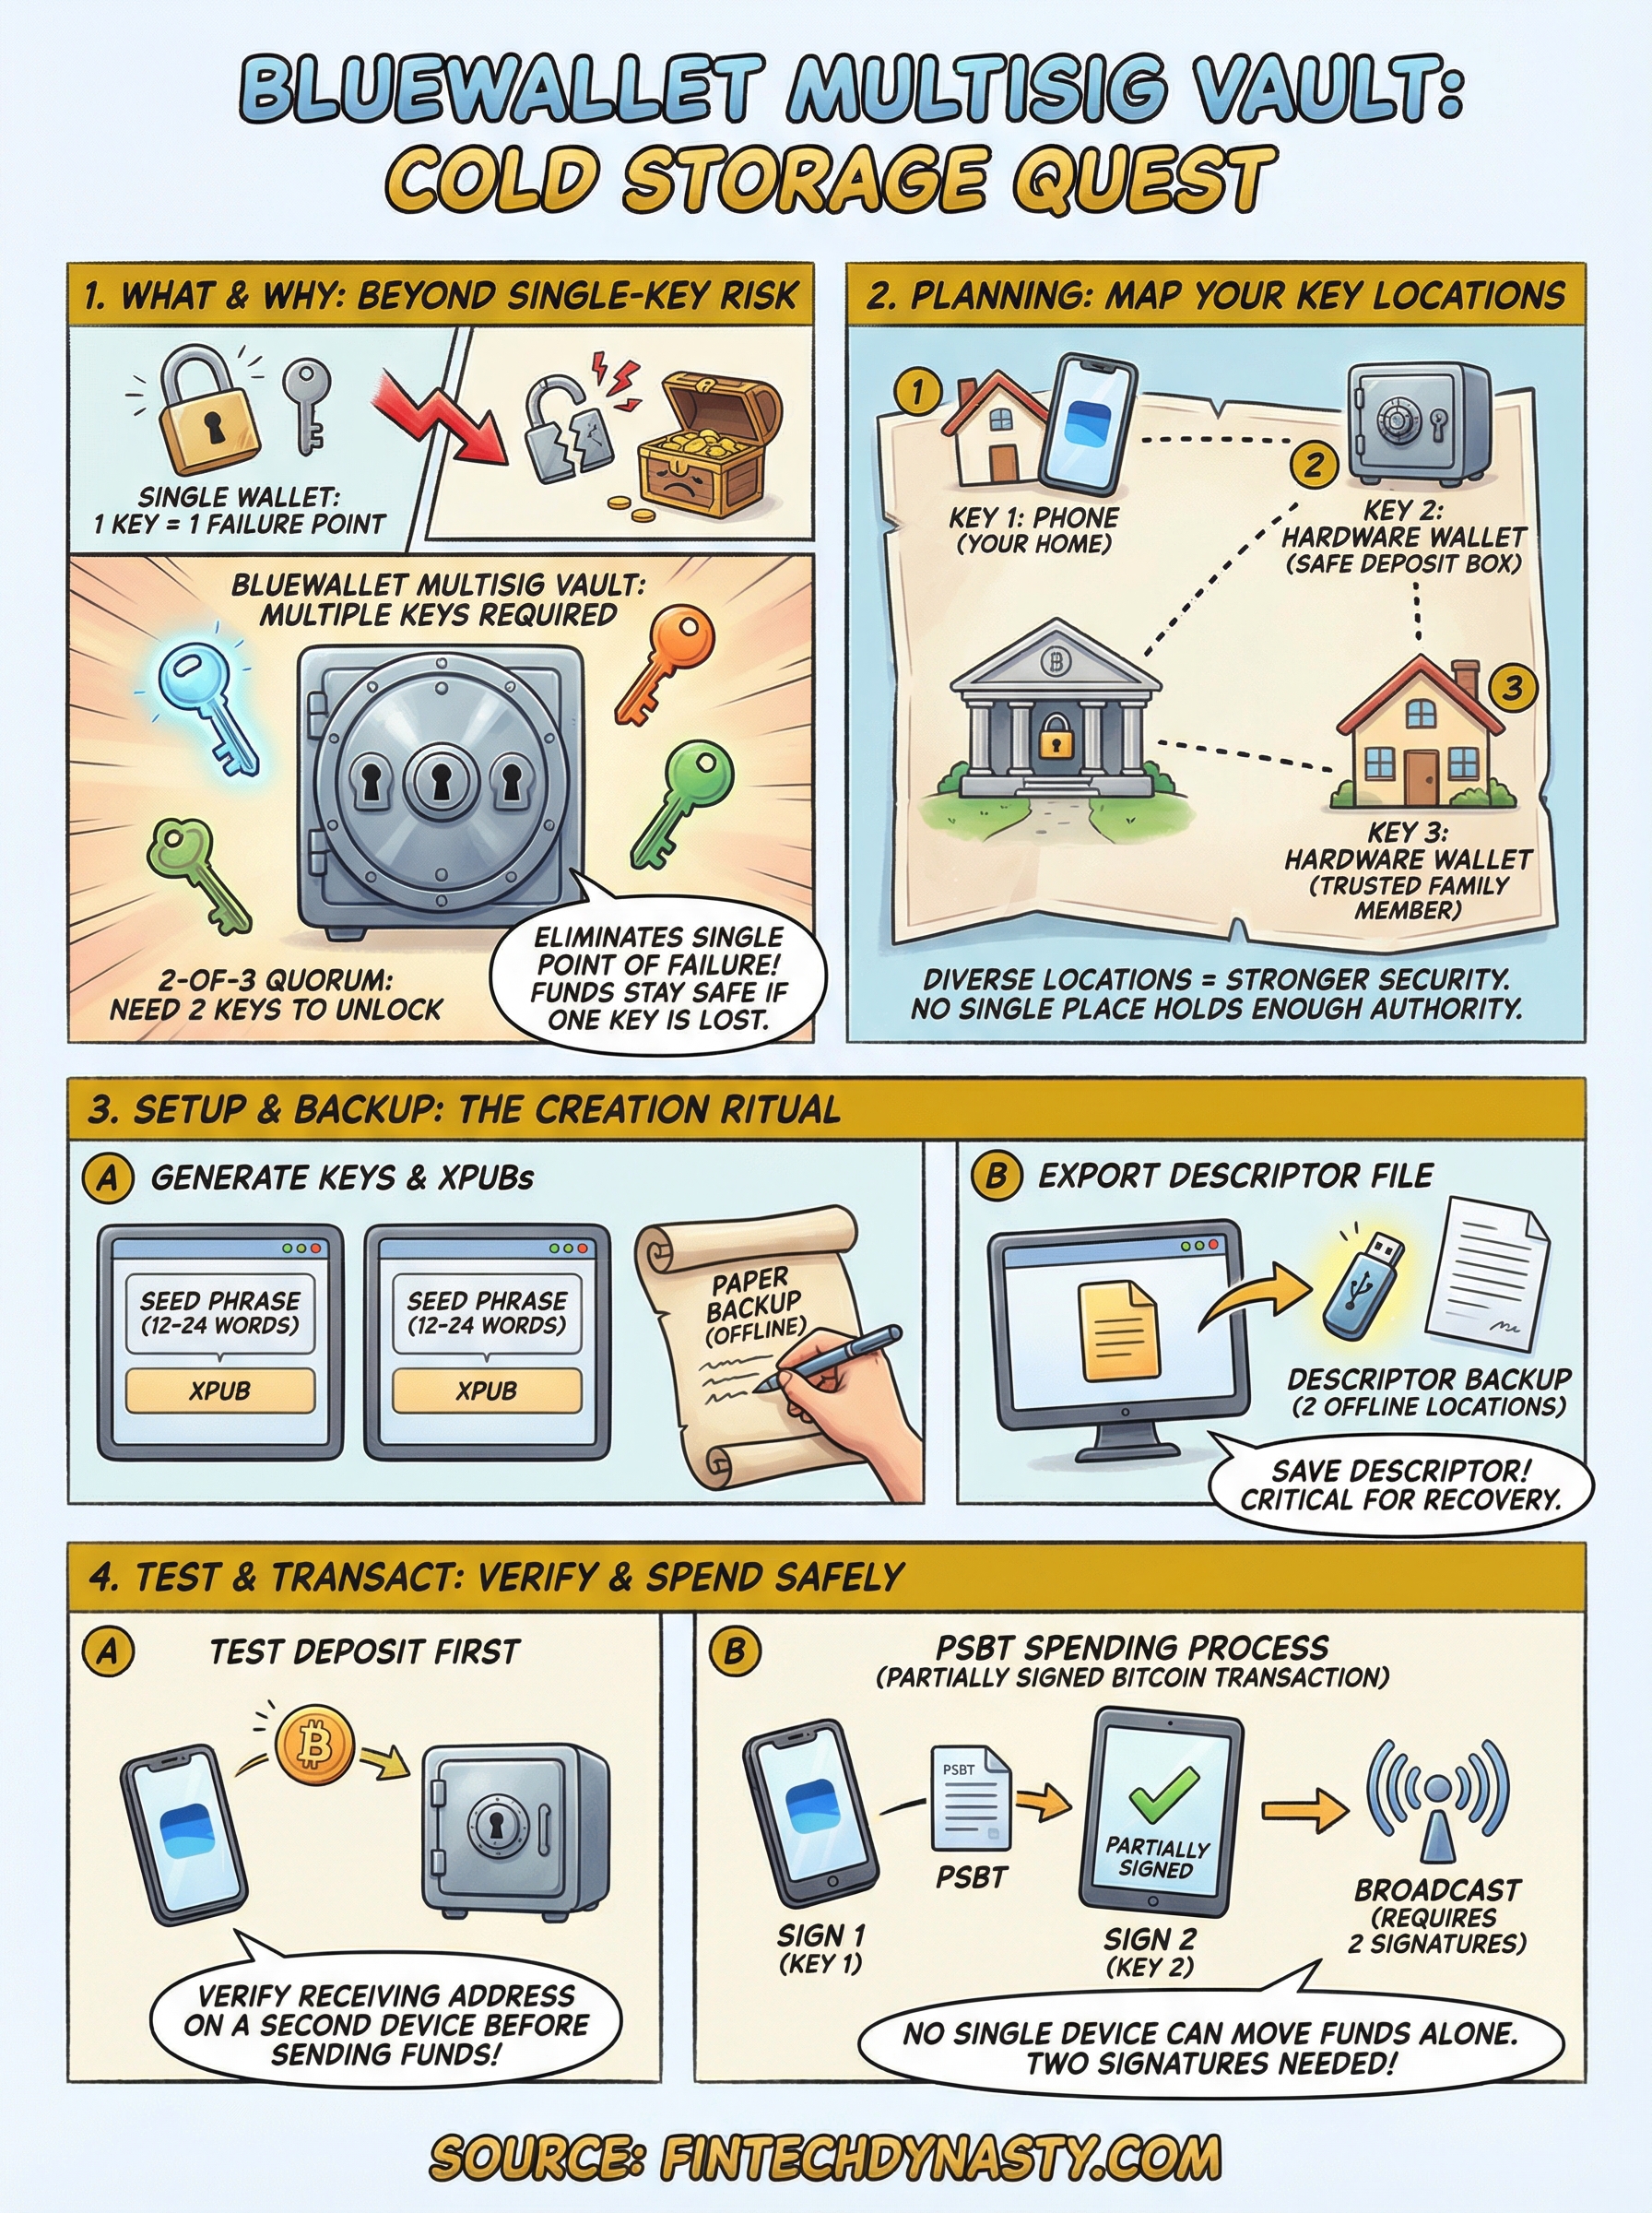
BlueWallet multisig uses a quorum structure, most commonly 2-of-3. You generate three separate keys, and any two of them must sign a transaction together before Bitcoin can move. The keys can live on different devices, in different physical locations, or even on separate hardware wallets, so no single device or location becomes a fatal weak point. Under the hood, BlueWallet implements this using the Bitcoin-native P2WSH (Pay-to-Witness-Script-Hash) standard, which is broadly compatible and fully auditable by other wallet software if you ever need to recover funds outside the app.
Distributing your keys across separate locations removes the single point of failure that makes standard wallets vulnerable to theft, loss, or device failure.
Who should use it
This setup fits long-term Bitcoin holders who store meaningful amounts and want a practical security upgrade without spending heavily on dedicated infrastructure. It also works well for small teams or families managing shared funds, where requiring more than one person to approve a transaction adds built-in accountability. If you already understand basic self-custody and want to raise the bar on your cold storage strategy, the BlueWallet Vault is a logical next step. It is not ideal for everyday spending wallets since the signing process adds extra steps, but for funds you plan to hold for months or years, that friction is exactly the point.
Step 1. Plan your vault setup and threat model
Before you open the app, spend ten minutes answering two core questions: how many keys do you need, and where will each one live? Skipping this step is the most common reason people end up with a vault they cannot recover later.
Choose your quorum
The 2-of-3 setup is the right starting point for most individuals. It gives you one spare key if a device is lost or fails, while still requiring two signatures to authorize any movement of funds. A 3-of-5 quorum adds more redundancy but multiplies the coordination burden significantly. For most long-term holders using BlueWallet multisig for personal cold storage, 2-of-3 hits the right balance between security and everyday practicality.
If you lose access to two of your three keys simultaneously, your funds become permanently unrecoverable, so location diversity matters as much as the key count itself.
Map your key locations
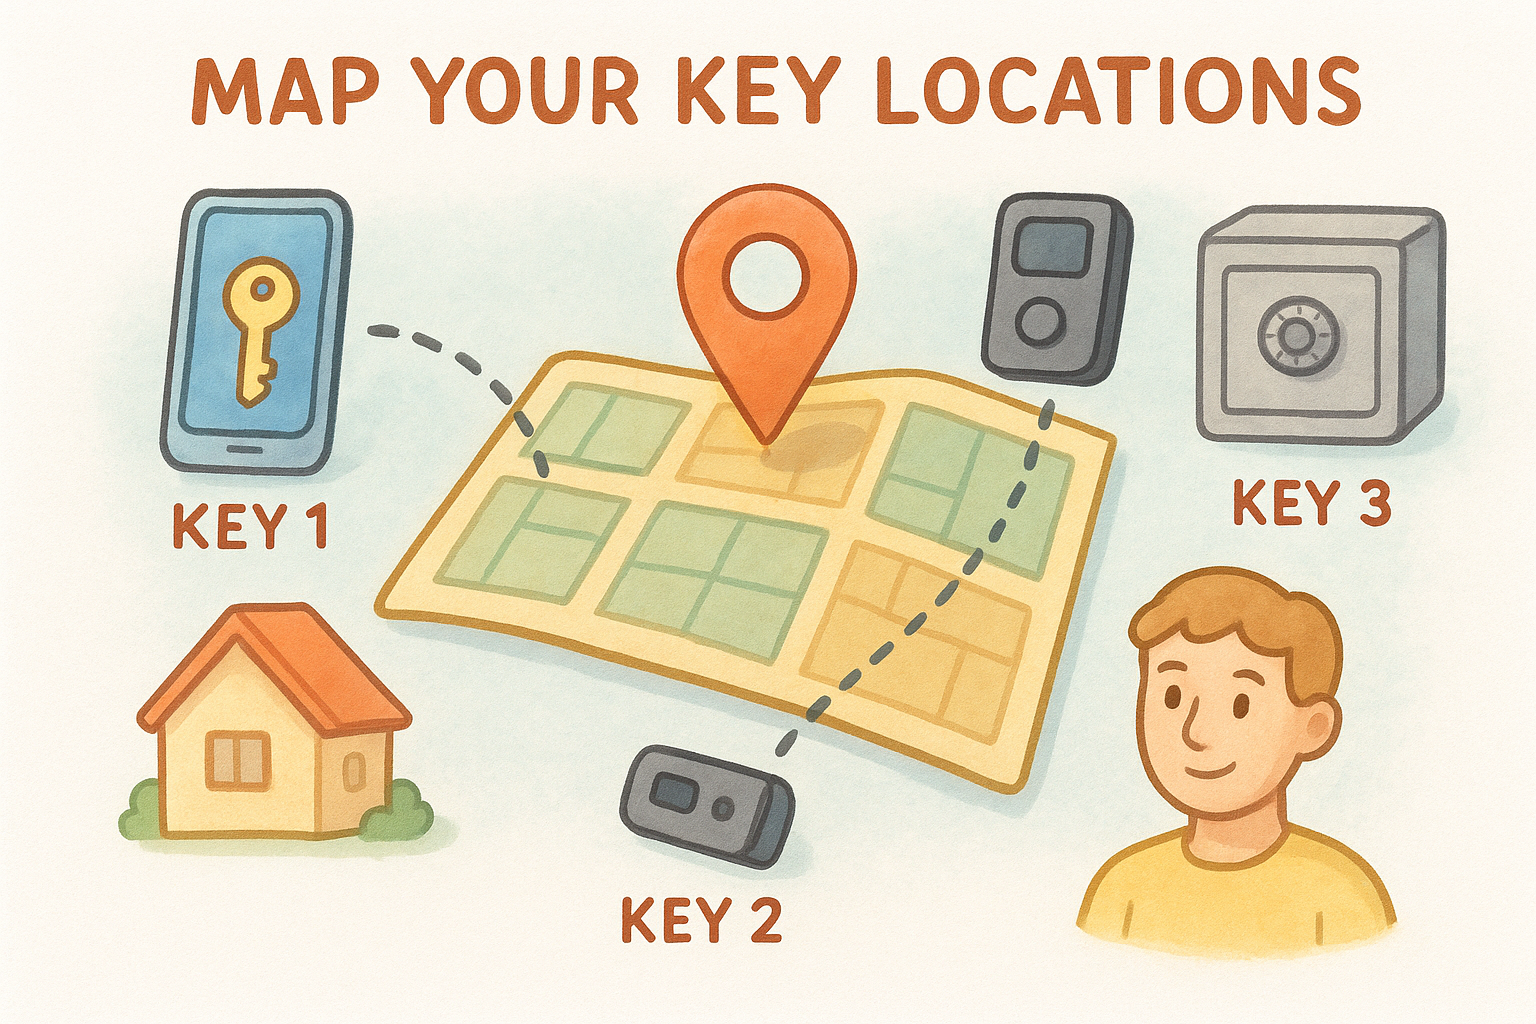
Separate your keys physically before you generate a single one. A solid starting plan looks like this:
| Key | Device | Location |
|---|---|---|
| Key 1 | Phone (BlueWallet) | Your home |
| Key 2 | Hardware wallet | Safe deposit box |
| Key 3 | Second hardware wallet | Trusted family member |
This layout ensures no single location holds enough keys to authorize any transaction on its own.
Step 2. Create the vault and save the right backups
Open BlueWallet and tap Add Wallet, then select Vault from the wallet type options. The app walks you through generating or importing three separate keys to form your BlueWallet multisig quorum. Before you generate any key, have physical paper and a pen ready, because you need to record backup information immediately as each key is created.
Generate each key and record the seed phrase and XPUB
For every key slot, BlueWallet displays a seed phrase (12 or 24 words) alongside an extended public key (XPUB). Write the seed phrase on paper immediately and store it in the physical location you mapped in Step 1. The XPUB for each key is what the Vault uses to coordinate signing without exposing your private keys, so save all three XPUBs as well.
Losing any one seed phrase permanently reduces your signing options, so store each in a separate, physically secure location before moving on.
Export and store the vault descriptor file
BlueWallet lets you export a full vault descriptor file that contains all three XPUBs and your quorum rules. You need this file to reconstruct the wallet in any compatible software if BlueWallet ever becomes unavailable. Save the descriptor to at least two offline locations, such as an encrypted USB drive and a printed copy kept in a fireproof container.
Step 3. Receive funds and verify addresses safely
Your BlueWallet multisig Vault is set up and backed up. Before you send any significant amount of Bitcoin to it, confirm that you can generate and verify a receiving address correctly. Sending funds to an unverified address is one of the most avoidable mistakes in cold storage.
Generate and verify your receiving address
Open the Vault in BlueWallet and tap Receive to produce a deposit address derived from all three of your XPUBs. Before using it, verify the address on at least one separate device by loading your saved descriptor file into compatible wallet software.
Always confirm your receiving address on a second device before sending any funds to it.
Run through this checklist before sharing any address:
- Address shown in BlueWallet matches the address your descriptor file generates
- No clipboard-hijacking malware is suspected on your phone
- Address format begins with "bc1q" (native SegWit P2WSH)
Start with a small test deposit
Send a minimum test amount first and confirm it arrives in the Vault. Then load your backup descriptor file into a separate wallet application and verify that the same balance appears there.
Confirm both checks pass before moving any larger holdings into the Vault. This two-step process catches configuration errors before they become costly.
Step 4. Spend with PSBT and test recovery
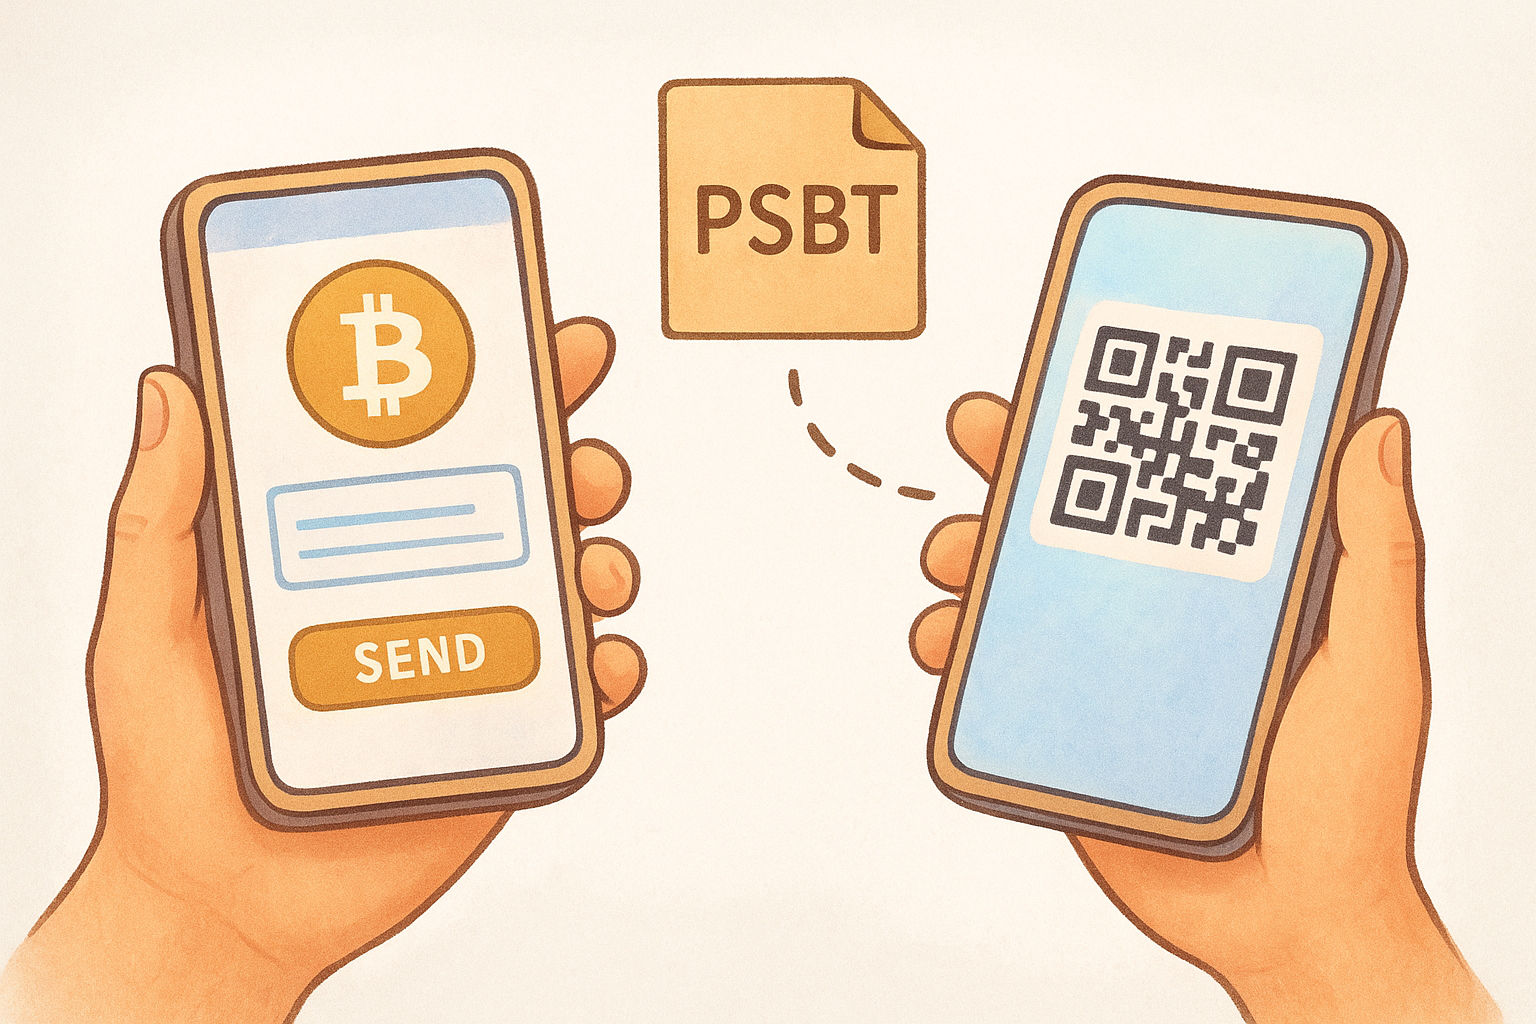
Sending Bitcoin from your BlueWallet multisig Vault uses a process called PSBT (Partially Signed Bitcoin Transaction). You build the transaction on one device, sign it with the first key, pass the partially signed file to a second device, sign it again, and then broadcast. No single device ever holds enough authority to push funds out on its own.
Sign a transaction with PSBT
Open the Vault, tap Send, and enter the destination address and amount. BlueWallet generates a PSBT file you can share via QR code or file export. Bring that PSBT to your second signing device, load it, and apply the second signature. Once the quorum is met, BlueWallet marks the transaction ready to broadcast.
Never broadcast a transaction without first confirming the destination address on a separate, trusted screen.
Test your recovery process
Run a full recovery drill before you store any serious amount of funds. Load your saved descriptor file into a separate compatible wallet application, verify the balance shows correctly, and confirm you can generate the same receiving addresses. Then sign a small outbound transaction using only your backup descriptor and seed phrases, without relying on the original phone. If the drill succeeds, your backup is solid and your vault is ready for long-term cold storage.
Next steps
You now have a working BlueWallet multisig Vault, backed up, verified, and tested with a real transaction. The setup you completed here eliminates the single point of failure that makes standard wallets a liability for long-term holders. Your funds now require two separate keys and two separate devices before anyone can move them, including you.
From here, revisit your key locations every six months to confirm each backup remains physically intact and accessible. Consider upgrading one or two of your signing keys to dedicated hardware wallets for an extra layer of offline protection. If you want to go deeper on Bitcoin security fundamentals, seed phrase storage best practices, and advanced cold storage strategies, the FinTech Dynasty crypto education course covers all of it in structured, beginner-friendly lessons. The more you understand the system protecting your assets, the more confidently you can hold long term.