

Install Google Authenticator: Setup On iPhone, Android & PC
Two-factor authentication is one of the simplest upgrades you can make to protect your cryptocurrency accounts and digital assets. If you're ready to install Google Authenticator, you're taking a practical step toward keeping hackers out of your exchange accounts, wallets, and other sensitive platforms. At FinTech Dynasty, we emphasize that strong security habits start with the basics, and 2FA sits right at the foundation.
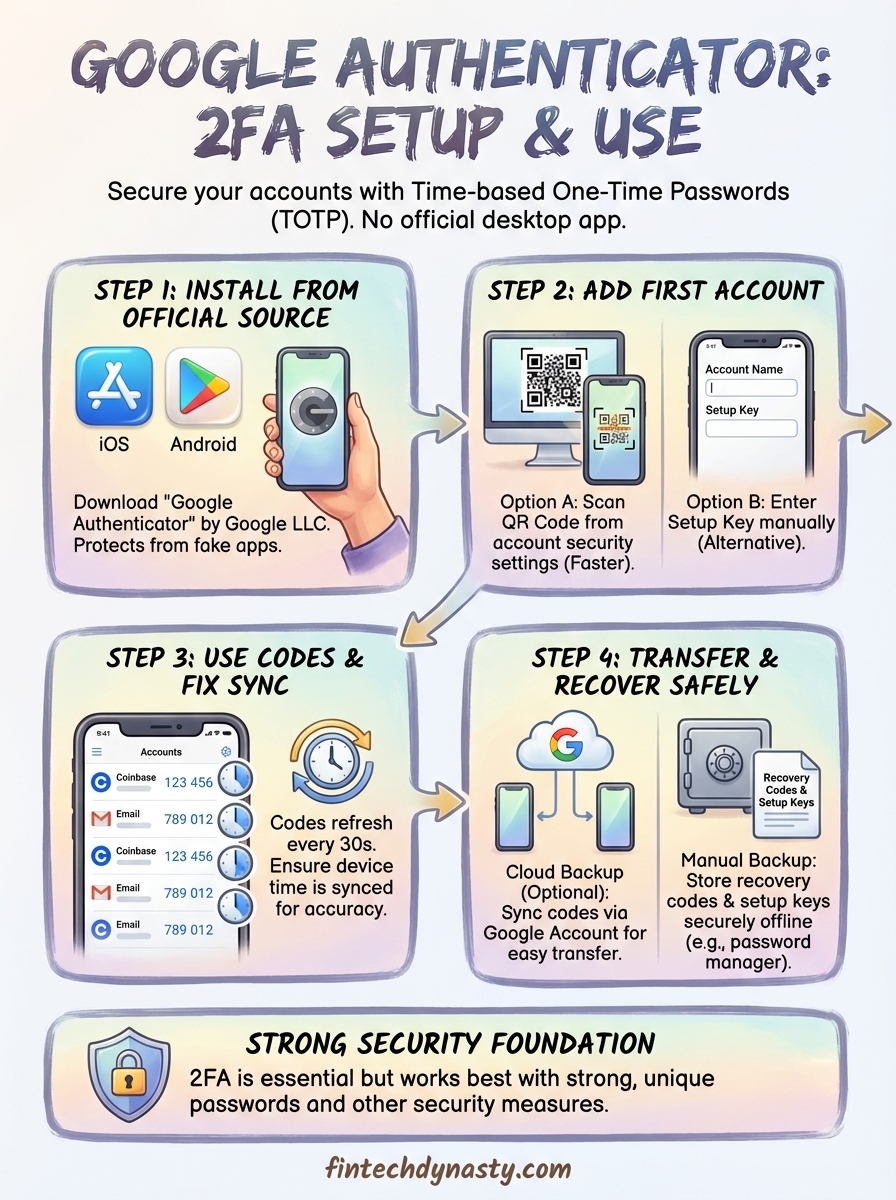
Google Authenticator generates time-based one-time passwords (TOTP) that change every 30 seconds. This adds a security layer that goes beyond your password alone. Even if someone steals your login credentials, they can't access your account without the code from your device.
This guide walks you through the complete setup process on iPhone, Android, and PC browsers. You'll find official download links, step-by-step instructions, and tips to avoid common mistakes. Whether you're securing a Coinbase account or adding 2FA to your email, the process takes just a few minutes.
Before you install, know what you're setting up
Google Authenticator is a free mobile app that generates six-digit codes every 30 seconds. These codes act as a second layer of protection when you log into accounts. You're not installing complicated software or connecting to external servers. The app works completely offline once you've added your accounts.
What Google Authenticator actually does
The app uses TOTP (Time-based One-Time Password) algorithms to create verification codes. When you add an account, you scan a QR code or enter a setup key. This creates a shared secret between the service and your device. Both use the same algorithm and your device's clock to generate matching codes.
You'll see a new six-digit number every 30 seconds. Services you're logging into generate the same code at the same time. When you enter the code during login, they verify it matches their calculation. This proves you have physical access to your device.
The codes work offline because both your device and the service use the same mathematical formula based on time.
Device-only storage vs cloud backup
Google Authenticator traditionally stored all codes only on your device. This meant maximum security but also risk if you lost your phone. Recent updates added an optional Google Account backup feature that syncs codes across your devices.
Cloud backup makes recovery easier. If you switch phones or lose your device, you can restore all your accounts by logging into your Google Account. However, this creates a new attack vector. Anyone who compromises your Google Account could potentially access your 2FA codes.
You decide which approach fits your security model. Device-only storage means you control everything but requires manual backup planning. Cloud sync offers convenience at the cost of adding Google's infrastructure to your trust chain.
When it's the right choice (and when it isn't)
Google Authenticator works best for exchange accounts, email providers, and social media. You get strong protection without paying for hardware tokens. The app handles unlimited accounts and doesn't require internet connectivity after initial setup.
Consider alternatives if you're protecting high-value cryptocurrency wallets or accounts with significant financial exposure. Hardware security keys like YubiKey or Titan offer stronger protection against phishing. Some users prefer apps like Authy that include encrypted cloud backup by default.
2FA doesn't replace other security measures. You still need strong unique passwords and should enable additional protections like withdrawal whitelists on exchanges. Think of two-factor authentication as one part of your overall security strategy, not a complete solution.
Platform compatibility and limitations
Google Authenticator runs on iOS 13 or later and Android 6.0 or newer. You can't install Google Authenticator officially on Windows, Mac, or Linux computers. Browser-based versions exist but they're third-party implementations that don't come from Google.
Most services support standard TOTP codes, which means you could use any compatible authenticator app. If you decide Google Authenticator isn't right for you, the setup process works similarly across alternatives. QR codes and setup keys remain interchangeable between apps.
Step 1. Install it from the official source
You need to download Google Authenticator from the official app store for your device. This protects you from fake apps that could steal your 2FA codes or compromise your accounts. Apple users download from the App Store, while Android users get it from Google Play Store. The installation process takes less than a minute on either platform.
Download for iPhone and iPad
Navigate to the App Store on your iOS device and search for "Google Authenticator" in the search bar. Look for the app published by Google LLC with the distinctive multicolored "G" icon. You can also visit https://apps.apple.com/us/app/google-authenticator/id388497605 directly from your iPhone or iPad.
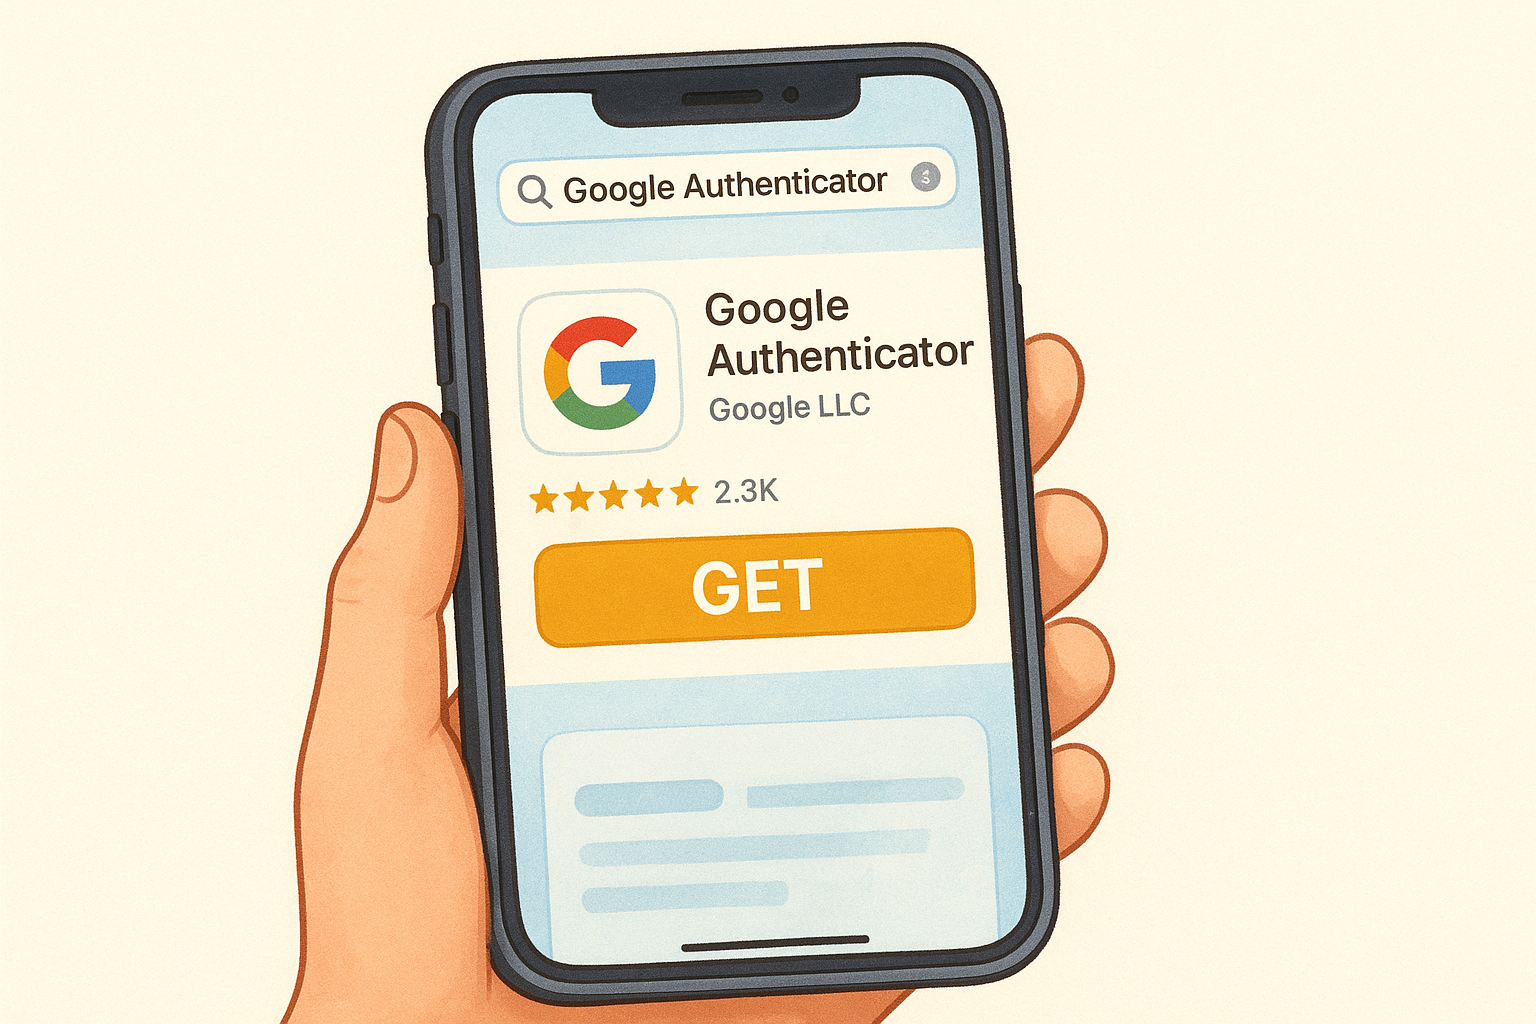
Tap the Get button and authenticate with Face ID, Touch ID, or your Apple ID password. The app downloads and installs automatically. Once installation completes, you'll see the Google Authenticator icon on your home screen. The app requires iOS 13.0 or later to run properly.
Download for Android devices
Open the Google Play Store app on your Android phone or tablet. Search for "Google Authenticator" and select the result from Google LLC. You can also use this direct link: https://play.google.com/store/apps/details?id=com.google.android.apps.authenticator2.
Tap Install and wait for the download to complete. The app appears in your app drawer once installation finishes. Android 6.0 or newer is required to install Google Authenticator on your device.
Always verify the publisher shows as "Google LLC" before downloading to avoid malicious copycat apps.
What about desktop computers?
Google doesn't offer an official desktop application for Windows, Mac, or Linux. The company designed Google Authenticator specifically as a mobile-only solution to ensure your 2FA codes stay on a physical device you control. This approach strengthens security by separating your authentication method from the computer you're logging in from.
Some third-party browser extensions claim to replicate Google Authenticator functionality. These aren't official Google products and introduce unnecessary security risks. If you need desktop-based 2FA code generation, consider using a different authenticator that officially supports computers, or keep your phone nearby when logging into accounts.
Step 2. Add your first account with QR or setup key
Open Google Authenticator after you install Google Authenticator on your device. The app starts with an empty screen that prompts you to add your first account. You'll see options to either scan a QR code or enter a setup key manually. Both methods achieve the same result, but QR scanning works faster and reduces typing errors.
Scan a QR code from your account settings
Navigate to the security settings of the service you want to protect. Most platforms place two-factor authentication options under account security or privacy sections. Look for labels like "Two-Factor Authentication," "2FA," or "Security Keys." When you enable 2FA, the service displays a QR code on your screen.
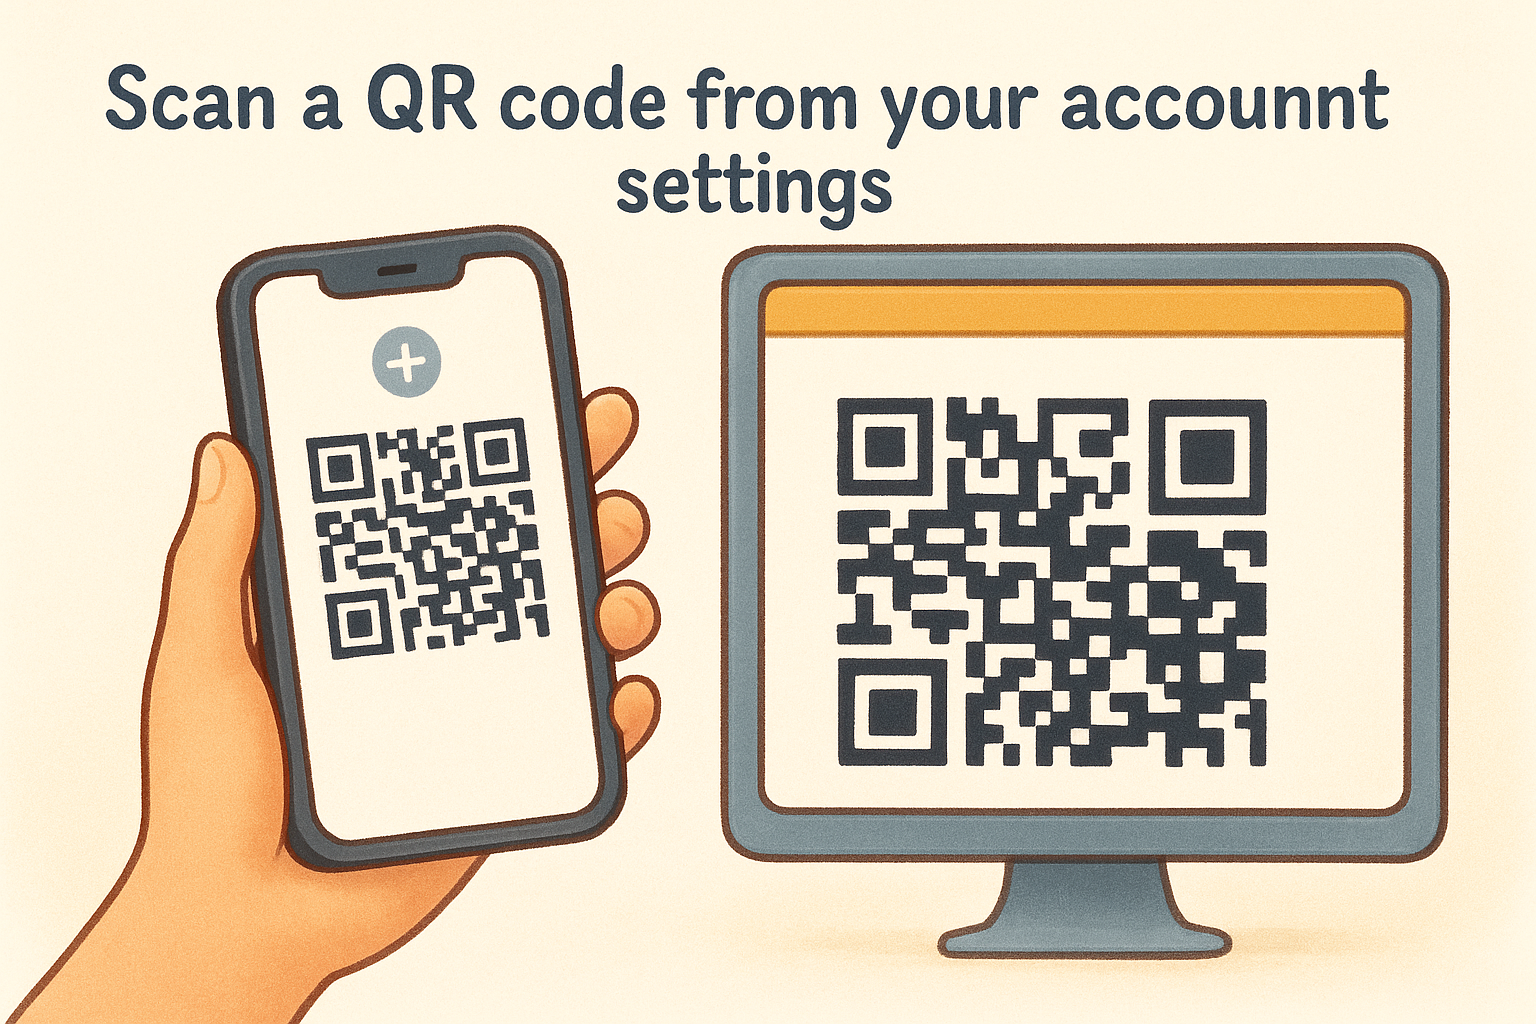
Tap the plus icon (+) in Google Authenticator and select "Scan a QR code." Point your phone's camera at the QR code displayed on your computer screen or other device. The app automatically captures and processes the code. Your account appears in the list with a six-digit number that changes every 30 seconds.
Most services ask you to enter the first code immediately to confirm setup worked correctly. Type the current six-digit number from Google Authenticator into the verification field on the website or app. This proves the connection between your device and their system functions properly.
Always complete the verification step during initial setup to ensure codes generate correctly before you log out.
Enter a setup key manually when scanning fails
Some situations prevent QR code scanning. You might be setting up 2FA on the same device where you're viewing the QR code. Poor camera quality or screen glare can also interfere with scanning. Services provide a text-based setup key as an alternative method.
Tap the plus icon in Google Authenticator and select "Enter a setup key." You'll see fields for the account name and setup key. Copy the alphanumeric string (usually 16 to 32 characters) from your service's 2FA setup page. Paste or type it into the key field. Add a descriptive account name so you can identify the service later in your list.
The time-based option should remain selected unless the service specifically instructs otherwise. Tap "Add" to complete the process. Your account appears in the list and begins generating codes immediately.
Step 3. Use codes, fix mismatches, and stay organized
Your codes generate automatically once you install Google Authenticator and add accounts. The app displays a six-digit number that refreshes every 30 seconds. Each code works only once and expires quickly, which prevents replay attacks. You enter these codes when logging into protected accounts, typically right after your password.
Read and enter codes during the countdown window
Watch the circular timer next to each code in Google Authenticator. The timer shows how many seconds remain before the current code expires. Enter codes when at least 10 seconds remain on the timer to avoid expiration during the login process. If you submit an old code, the service rejects it and you'll need to wait for the next one.
Type all six digits exactly as displayed. Services don't accept spaces, hyphens, or other separators. Most platforms give you two to three attempts before temporarily locking you out. Copy-paste functions work if supported, but manual entry reduces the risk of including extra characters.
Always verify you're entering the code from the correct account, especially when managing multiple services in your list.
Fix time synchronization problems
Code mismatches usually stem from incorrect device time. Google Authenticator generates codes based on your phone's internal clock. If your device time differs from the service's server time by more than 30 seconds, codes won't match. Navigate to your device's settings and enable automatic time sync.
Android users can force a time correction within Google Authenticator. Open the app, tap the three-dot menu in the top right, select "Settings," then choose "Time correction for codes." Tap "Sync now" to align your device with Google's time servers. iOS handles time sync through system settings automatically.
Label and arrange accounts clearly
Rename accounts immediately after adding them. Tap the pencil icon next to any account in Google Authenticator. Replace generic labels like "Coinbase" with descriptive names such as "Coinbase Main Account" or "Work Email 2FA." This prevents confusion when you manage multiple accounts from the same service.
Reorder your list by priority. Long-press any account and drag it to a new position. Place frequently accessed codes at the top of your list. Group related accounts together, such as all exchange accounts in one section and email accounts in another. Proper organization saves time during login attempts.
Step 4. Transfer and recover your codes safely
Losing access to your authenticator codes locks you out of every protected account. You need a recovery plan before disaster strikes, not after. Google Authenticator includes built-in transfer tools, but you should also maintain manual backups of setup keys and recovery codes. This redundancy protects you from device loss, hardware failure, or accidental deletion.
Export codes before switching devices
Google Authenticator's Google Account sync feature automatically backs up your codes to the cloud. Open the app and tap the three-dot menu in the top right corner. Select "Use without an account" to see your current sync status. If you see this option, you're storing codes only on your device. Tap "Continue" to enable cloud backup through your Google Account.
Switching to a new phone becomes simple with sync enabled. Install Google Authenticator on your new device and sign in with the same Google Account. Your codes transfer automatically without manual export. The old device keeps working until you actively remove it from your account.
Manual export works when you need to move codes between accounts or devices. Tap the three-dot menu and select "Transfer accounts." Choose "Export accounts" and select which codes to transfer. The app generates a QR code series that your new device scans. This method works even without cloud sync enabled.
Never screenshot QR codes during export, as these images contain sensitive data that could compromise your accounts.
Store backup codes and setup keys
Services provide one-time recovery codes when you first enable 2FA. These eight to ten-digit codes bypass authenticator requirements during emergencies. Download or copy these codes immediately and store them in a password manager or encrypted file. Each code typically works only once.
Save the setup key (also called secret key) shown during initial 2FA activation. This alphanumeric string lets you recreate your authenticator entry manually. Store setup keys separately from passwords. Physical paper storage in a safe or safety deposit box adds an offline backup layer.
Rebuild manually when cloud sync isn't an option
Device-only storage requires you to disable and re-enable 2FA on each service if you lose your phone. Log into each account using alternative recovery methods like email verification or SMS codes. Navigate to security settings, remove the old authenticator, and scan a new QR code with your replacement device.
Contact support teams directly for accounts that won't accept alternative login methods. Provide identity verification documents and explain you lost access to your authenticator. Most services assist legitimate account owners, though recovery may take several business days to complete.
Quick recap
You now have everything you need to install Google Authenticator and protect your accounts with two-factor authentication. Download the official app from the App Store or Google Play Store, add accounts by scanning QR codes or entering setup keys, and start using six-digit codes during login. Remember to enable cloud backup if you want automatic syncing, or store recovery codes separately if you prefer device-only storage.
Time synchronization fixes most code mismatch problems. Export your accounts before switching devices, and keep backup codes in a secure location like a password manager. These simple steps prevent lockouts and ensure you maintain access to every protected account.
Two-factor authentication strengthens your security foundation, but it works best alongside other protections. FinTech Dynasty provides detailed guides on cryptocurrency wallet security and self-custody practices that complement your 2FA setup. Strong authentication combines with hardware wallets and proper key management to protect your digital assets effectively.