

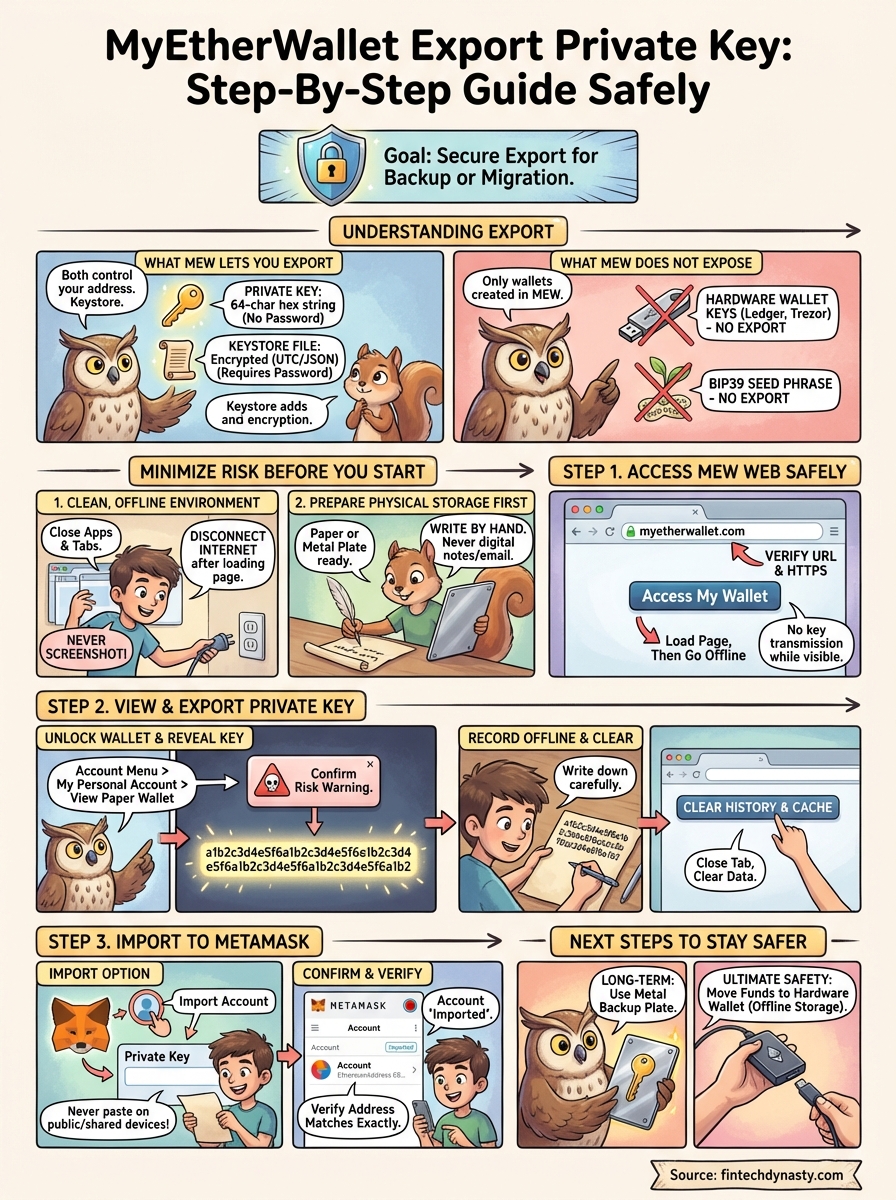
MyEtherWallet Export Private Key: Step-By-Step Guide Safely
Your private key is the single piece of data that proves ownership of your Ethereum assets. If you need to MyEtherWallet export private key for backup or migration purposes, getting the process right matters more than getting it done fast. One mistake, a screenshot saved to the cloud, a copy-paste left in your clipboard, and your funds are exposed.
Maybe you're moving to MetaMask, maybe you're preparing to migrate your ETH to a hardware wallet, or maybe you just want a secure offline backup. Whatever the reason, you need a clear process that doesn't leave your key vulnerable at any step.
At FinTech Dynasty, we focus exclusively on helping crypto holders protect their digital assets through proper self-custody practices. This guide walks you through exporting your private key from MyEtherWallet (MEW) step by step, with practical security measures built into every stage.
What you can and can't export in MEW
Understanding the scope of MEW's export options before you start the myetherwallet export private key process saves you from confusion and prevents wrong assumptions about what data you actually have access to. MEW is a client-side interface, meaning it never stores your keys on a server - what you export comes entirely from your own device.
What MEW lets you export
MEW gives you two main options when you need to access the raw credentials for a wallet you created directly in the app. The private key is a 64-character hexadecimal string that provides full, unconditional access to your Ethereum address. The keystore file (also called a UTC/JSON file) is an encrypted version of that same private key, protected by a password you set at the time of creation.
Here is a quick comparison of both options:
| Export type | Format | Password required |
|---|---|---|
| Private key | 64-char hex string | No |
| Keystore file | UTC/JSON file | Yes |
A keystore file is safer than a raw private key for long-term storage because it adds an encryption layer, but both ultimately control the same address.
What MEW does not expose
Credentials for wallets that MEW did not create or does not control cannot be exported through the interface. If you connected a hardware wallet (like a Ledger or Trezor) to MEW as a front-end, MEW never had access to the underlying private key, so it has nothing to export. Similarly, MEW does not generate or display a BIP39 seed phrase for standard MEW-created wallets - when you create a wallet in MEW, you receive a private key or keystore file, not a 12-word or 24-word recovery phrase.
Before you export: minimize risk
The myetherwallet export private key process exposes your most sensitive credential for a brief window. Reducing that window requires deliberate preparation before you open any browser tab. Every step you skip increases the chance that your key ends up in a log file, a cloud sync folder, or a compromised clipboard.
Use a clean, offline environment
Disconnect your device from the internet once you have loaded the MEW web app (more on this in the next step). Before that, close every unnecessary tab and application, especially anything that syncs files automatically like Google Drive or iCloud. You want zero background processes capturing or transmitting data while your key is visible on screen.
Never take a screenshot of your private key on a device connected to the internet.
Prepare your physical storage first
Have your offline storage method ready before you start. A clean sheet of paper or a dedicated metal backup plate works well. Write the key down by hand and store it somewhere physically secure. Never type it into a notes app or email, even briefly. Preparing your storage in advance means the key spends as little time exposed on screen as possible.
Step 1. Access MEW web safely
The only legitimate URL for MEW is myetherwallet.com. Before you begin the myetherwallet export private key process, you need to confirm you are on the real site and not a phishing clone. Phishing sites copy MEW's interface exactly, and entering your credentials on one means instant loss of funds.
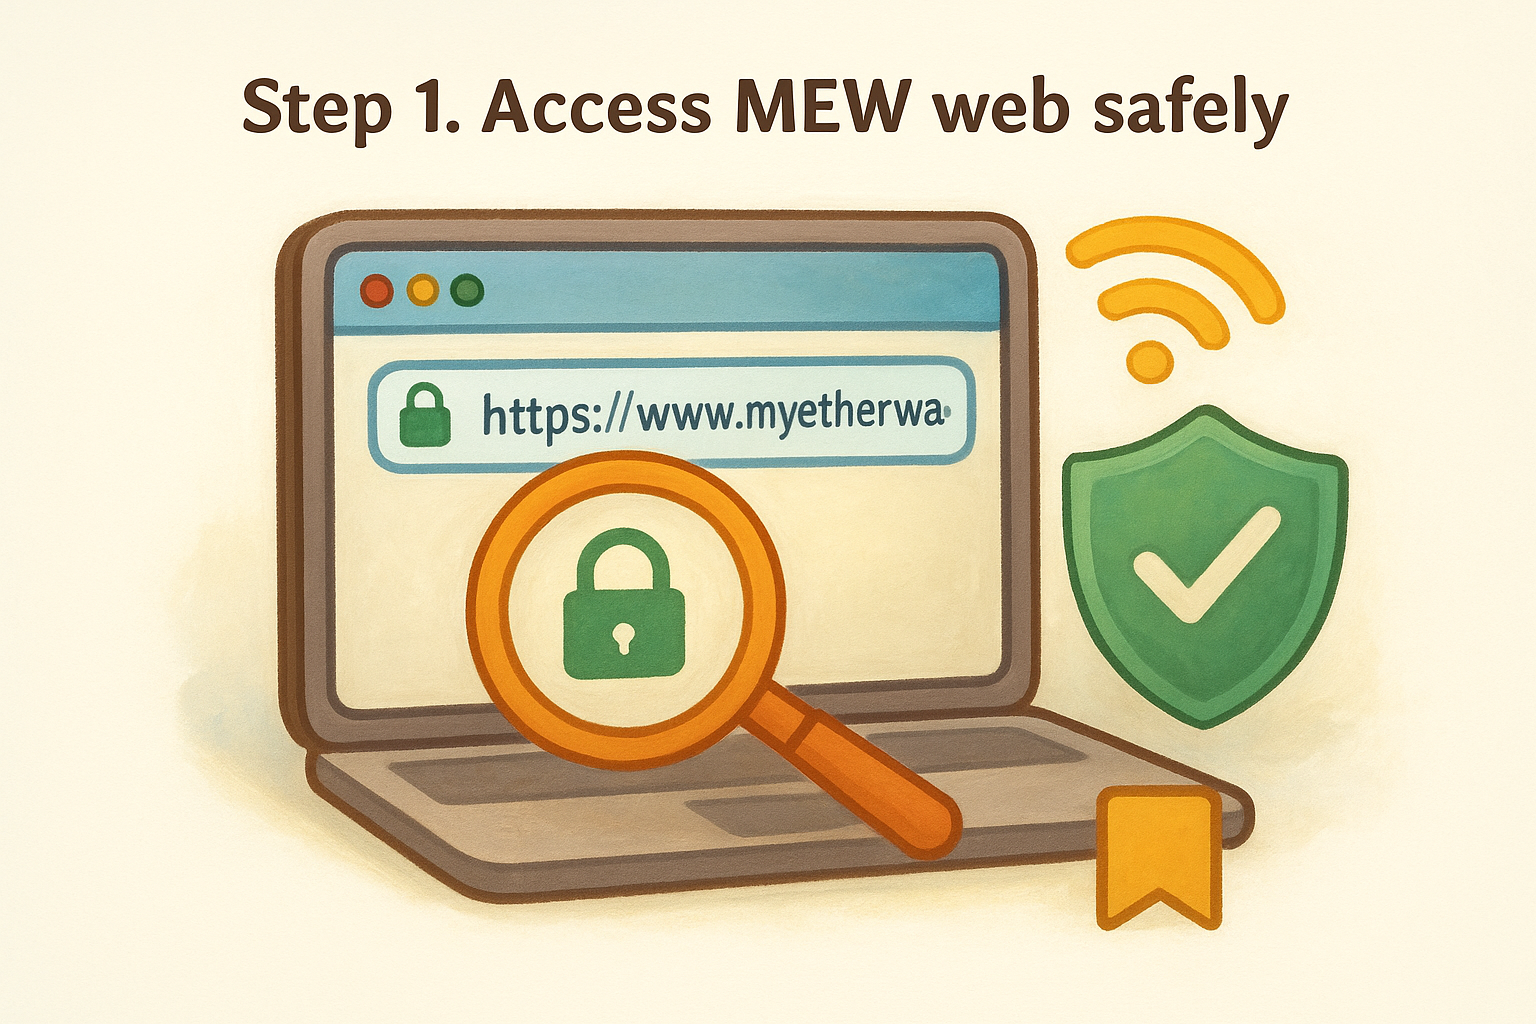
Verify the URL before you do anything else
Type myetherwallet.com directly into your browser's address bar rather than clicking any link from an email, search result, or social media post. Once the page loads, check that the connection shows HTTPS with a valid certificate before you proceed.
Quick checklist before you unlock your wallet:
- Address bar reads exactly
https://www.myetherwallet.com - No extra characters, hyphens, or misspellings in the domain
- Browser shows a padlock icon confirming a secure connection
Bookmark the real MEW URL now and always open it from that bookmark going forward.
Load the page, then go offline
Once MEW has fully loaded in your browser, disconnect your device from the internet. MEW runs entirely client-side, so it does not need an active connection once the page is open. Cutting your connection at this point means your private key never transmits over the network when it appears on your screen.
Step 2. View and export your private key
With MEW loaded and your internet connection cut, you are ready to complete the myetherwallet export private key process. Click "Access My Wallet" on the MEW homepage, then select the method that matches how you originally created your wallet, either "Software" for a keystore file or "Private Key" if you already have it stored elsewhere.
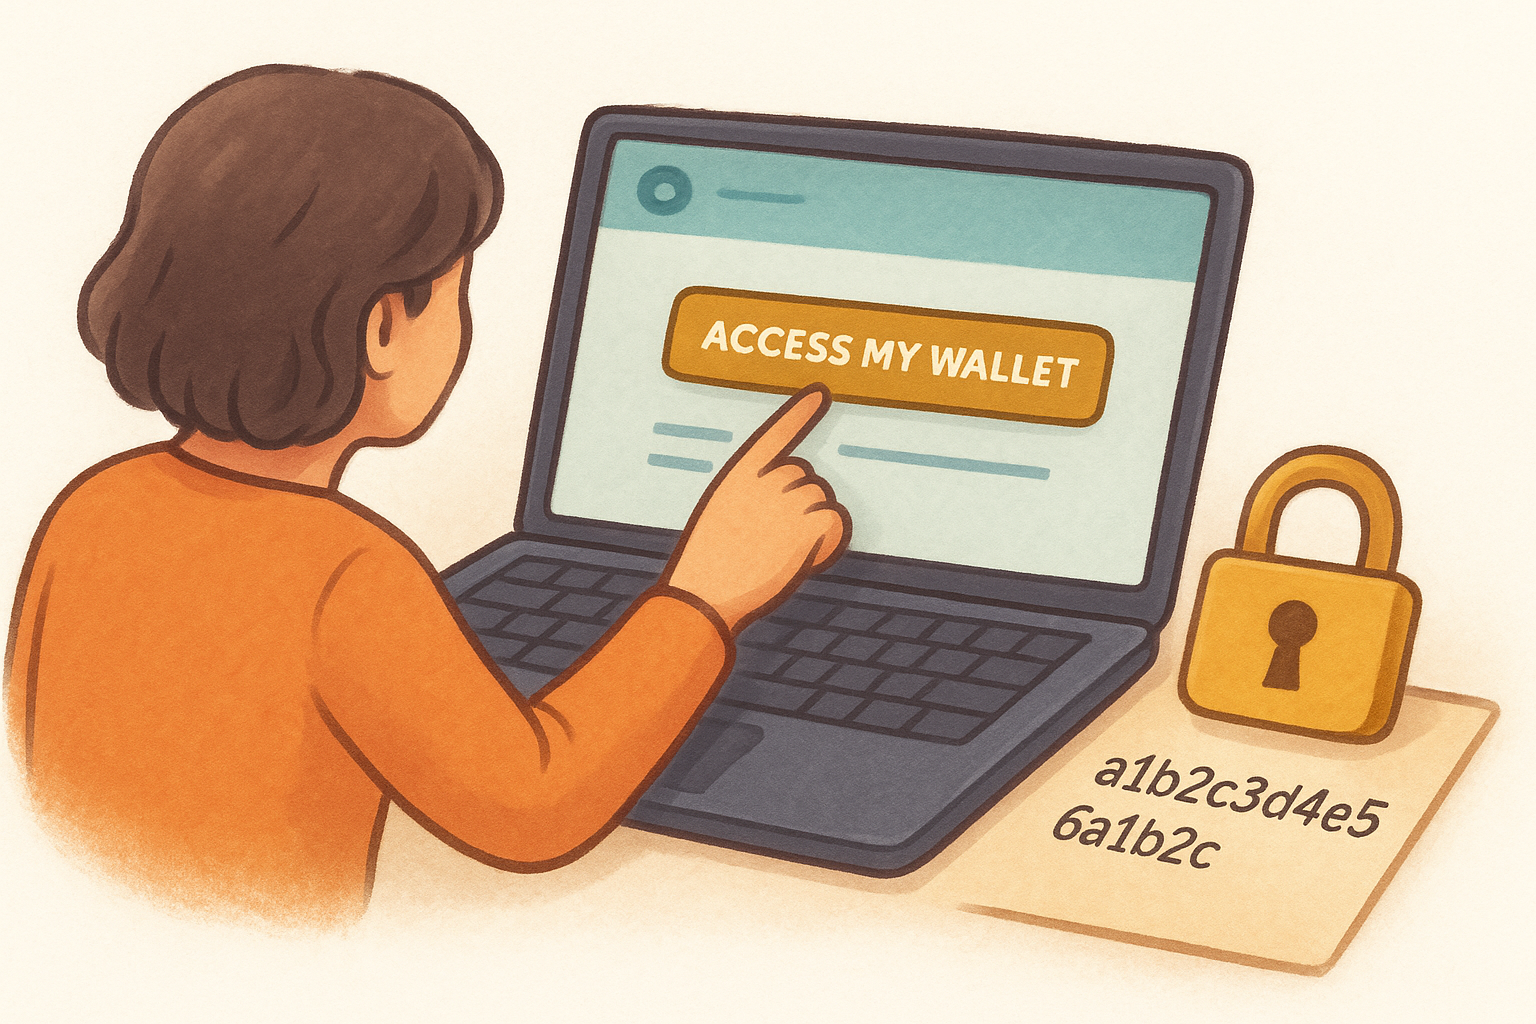
Unlock your wallet and reveal the key
Once your wallet opens, navigate to the account menu in the top-right corner and select "My Personal Account." From there, locate the "View Paper Wallet" or account info option, which displays your private key. MEW will show a warning before revealing it. Confirm you understand the risk, and the 64-character hex string will appear on screen.
Your private key will look exactly like this format:
a1b2c3d4e5f6a1b2c3d4e5f6a1b2c3d4e5f6a1b2c3d4e5f6a1b2c3d4e5f6a1b2
Write this down by hand immediately and confirm every character before closing the screen.
Close and clear after recording
Once you have written down the full key and verified it against the screen character by character, close the MEW tab entirely. Then clear your browser history and cache to remove any residual session data from your device.
Step 3. Import the private key into MetaMask
With your private key recorded offline, you can now bring your wallet into MetaMask. This step completes the myetherwallet export private key process by moving your Ethereum address into a wallet you can actively use for transactions. Reconnect your internet only after you close MEW and are ready to work inside MetaMask.
Open MetaMask and select the import option
Open the MetaMask browser extension and click the circular account icon in the top-right corner. From the dropdown menu, select "Import Account." MetaMask will ask you to choose an import type; keep the default set to "Private Key." Paste or type your 64-character hex string into the input field, then click "Import."
Never paste your private key while on a public network or a shared device.
Follow these steps in order:
- Click the account icon in MetaMask
- Select "Import Account"
- Choose "Private Key" as the type
- Enter your key and click "Import"
Confirm the import and verify the address
Once MetaMask processes the key, your imported account appears in the account list with a labeled "Imported" tag. Cross-check the Ethereum address shown in MetaMask against the address you used in MEW to confirm they match exactly before sending any funds.
Next steps to stay safer long term
Completing the myetherwallet export private key process is a starting point, not a finish line. A private key stored on paper gives you full control, but paper degrades, gets lost, and can be destroyed in a fire or flood. Consider upgrading to a metal backup plate for long-term resilience, and store your key in a location separate from your hardware and other valuables.
Moving your funds to a hardware wallet is the strongest follow-up step you can take after migrating away from MEW. A hardware wallet keeps your private key offline permanently, so it never touches an internet-connected device during normal use. This removes the exposure window entirely, which is the root vulnerability in every software wallet setup.
For detailed hardware wallet comparisons, setup guides, and self-custody tutorials built specifically for crypto holders who want practical security without the hype, visit FinTech Dynasty and start building a setup that protects your assets long term.